Before you create a dataform, consider:
- The type of data you need to track
- How that data is used in ClientSpace and other systems
- The relationship between the new dataform and others in your system
Advanced planning can save time after you publish the dataform and start to collect data. After you have determined how you would like to build out your new dataforms, you can begin the process. The first step is to add the dataform. This process creates a new table in the SQL database with the predetermined system columns.
To add a new dataform:
- Go to System Admin
 > Advanced > Dataform Admin.
The Dataform Admin dashboard opens.
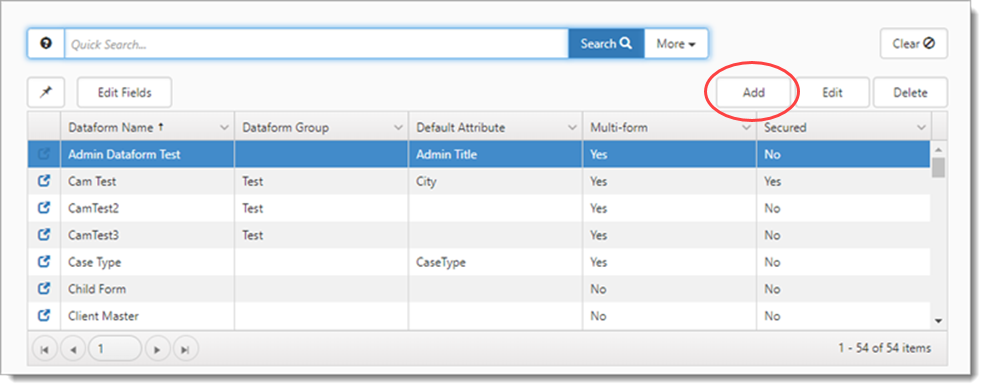
- Click Add.
The Dataform Properties: New Dataform form opens.
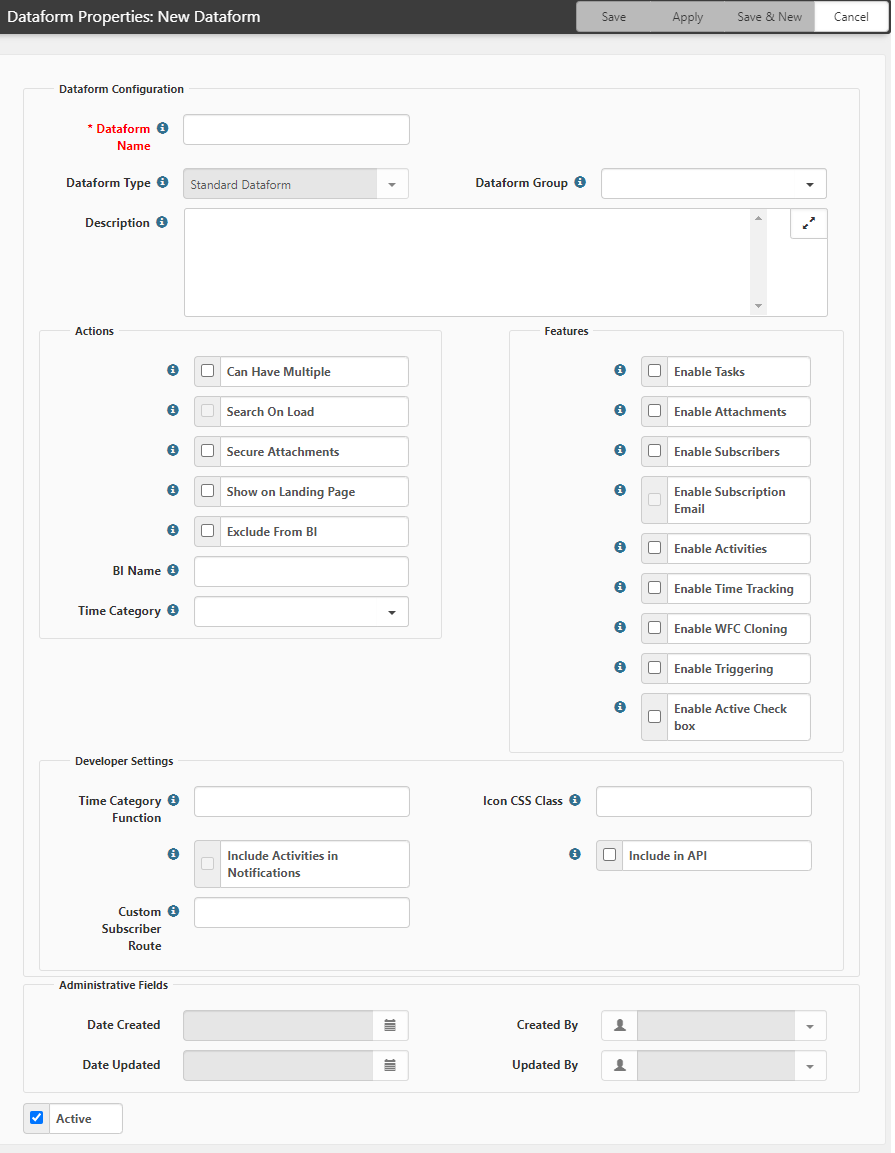
- For Dataform Configuration, complete the form fields as required.
|
Dataform Name |
This is the name of the dataform that is displayed within the application, such as in lists. Required. |
|||||||||
|
Dataform Type |
Select the type:
|
|||||||||
|
Dataform Group |
Grouping dataforms makes them easier to search for later. |
|||||||||
|
Description |
Provide a short description of the dataform and its purpose. |
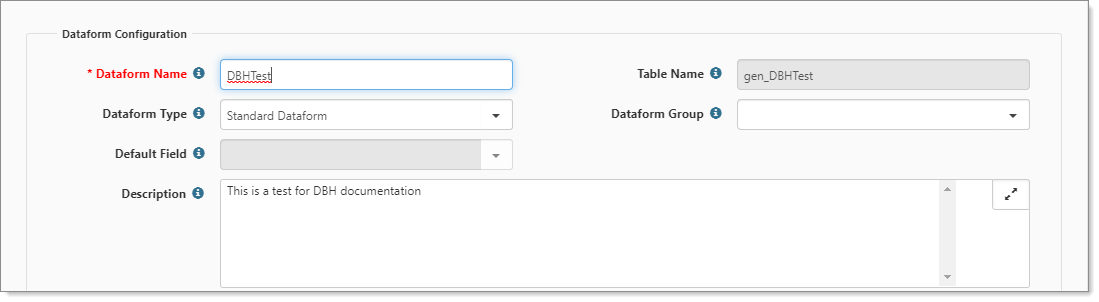
- After you configure this first section, click Apply.
- After you Apply changes, then you see the Table Name and Default Field fields.
|
Table Name |
Displays the generated table name that is stored in the database. This can be useful for reporting. You cannot edit this field. |
|
Default Field |
When you associate one dataform with another through linked fields, the default attribute is displayed in the list. It is a best practice to make the default attribute field of the form Required, so any linked forms have something to display. Note: If you attempt to delete a field that is set as the default field on the dataform, the system prevents you from deleting the field until you select a different default field for the dataform. See Deleting, Inactivating or Editing Dataform Fields for more information. |
Next: Action Center
The next step is to secure the form, add and configure fields, and add and configure tabs. These actions are performed in the Action Center pane (on the right side of the screen).
To continue with the configuration:
| 1. | In the Action Center, click Fields, Tabbed Forms, or the Form not Secured button |
| 2. | Use the following field descriptions to guide you through the configuration. |
| • | Fields: This is where you add and configure fields for this dataform (see Adding Dataform Fields). |
| • | Tabbed Forms: This is where you add and configure tabs for any foreign key-related child forms of this dataform. (Child forms have a Parent form field that uses this dataform as the Parent Form. See Adding Dataform Tabs.) |
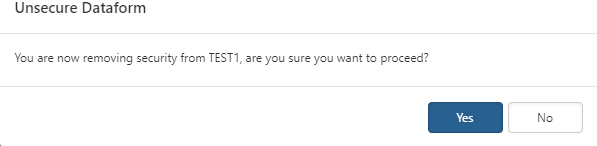
| • | Form not Secured button |
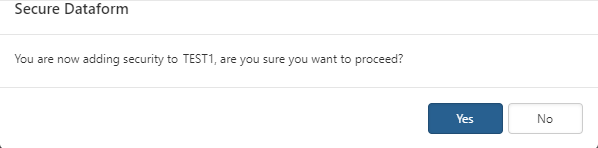
Note: To unsecure a form, click the Form Secured button ![]() and click Yes in the Unsecure Dataform window to remove security for the dataform.
and click Yes in the Unsecure Dataform window to remove security for the dataform.
For more details about dataform security, review Dataform and Dataform Field Security. For more details about using security entities in Role security, review Configuring Organization and Workspace Security.
Next: Customize the Actions
To continue customizing your dataform:
| 1. | On the Dataform Properties form, locate the Actions area, where you find an array of options. |
| 2. | Use the following field descriptions to guide you through the configuration. |
|
Can Have Multiple |
Single vs Multi dataform - dataforms come in two basic flavors: The Single dataform (such as the Client Master) has a one-to-one relationship with the Workspace, only one can exist in the Workspace. The Multi dataform (such as Locations) has a one-to-many relationship with the Workspace, such as physical locations for a client, or paycheck records for an employee. |
|
Search On Load |
Multiforms present as a list of records, whether this list is populated automatically when you land on the dataform search or have to click the Search button to populate the list is a function of search on load. |
|
Secure Attachments |
Secures attachments for this Dataform. This generates a security entity so that users with that entity can see, add, or edit attachments (<TableName> $Attachment). |
|
Show on Landing Page |
Indicates the dataform will be available from the Workspace landing page. Leave this unchecked if you want to only display the dataform in Next as a tabbed or linked dataform. |
|
Exclude From BI |
Checking this box will remove the dataform from the list of available tables in the Datasources section of Business Intelligence, effectively hiding the dataform from reporting. Note: When the Exclude from BI check box is selected (set to True), the BI Name field is disabled. |
|
BI Name |
If populated, the Friendly Name stored in this field will display in Business Intelligence reporting instead of the table name. Note: When the Exclude from BI check box is selected (set to True), the BI Name field is disabled. |
|
Time Category |
On the creation of a Time Tracking record from this dataform, the Category field of the record will default to the value selected here. |
| 3. | After you configure this section, click Apply. |
Next: Customize the Features
To further customize your dataform:
| 1. | On the Dataform Properties form, locate the Features area, where you find an array of options. |
| 2. | Use the following field descriptions to guide you through the configuration. |
|
Enable tasks |
Adds the My Tasks action item to the dataform. Tasks added from this dataform are linked to this dataform. |
|
Enable Attachments |
Adds the Attachment Action Item to the dataform, providing the ability to attach files to the dataform. |
|
Enable Subscribers |
Adds the Subscribers Action Item to the dataform, which allows you to automatically notify system users from email, about changes to the form. |
|
Enable Subscription Emails |
This field sets which notification system is used when producing dataform subscription emails. If selected, a core system notification is produced when the record is changed. If selected and a published Email Template has been configured for this dataform, that template is used. If cleared and no template exists, subscription emails are not sent. |
|
Enable Activities |
Determines whether Activities may be attached to and displayed on this dataform. |
|
Enable Time Tracking |
Adds the Time Tracker action item to the dataform. Time tracked from this icon is linked to this dataform. |
|
Enable WFC Cloning |
Used to determine if a form is available to clone. This means that the form can be created by the Workflow Channel as the triggered form.
Clearing this option initiates a validation to determine if this dataform is used as a Triggering Form or triggering condition in a Workflow Channel. When used, a warning message is displayed with a link to the referenced items. Only published Workflow Channels are referenced. This option cannot be cleared until the dependencies are removed. |
|
Enable Triggering |
Used by Workflow Channels and Email Templates to determine if this dataform is available as a Triggering Form during the initial Workflow Channel and Email Template configuration.
Clearing this option initiates a validation to determine if this dataform is used as a condition in a Workflow Channel or Email Template. When used, a warning message is displayed with a link to the referenced items. Only published items are referenced. This option cannot be cleared until the dependencies are removed. |
|
Enable Active Check box |
This option controls if the Active check box
|
| 3. | After you configure this section, click Apply. |
Viewing audit information
The audit trail contains the admin data, as well as other, create and change events for the dataform and associated fields. Dataform properties also provide the following information:
- Date Created
- Created By
- Date Updated
- Updated By
To view the audit trail:
- From an open dataform, in the Action Center, click
 (Audit Trail).
The Audit Trail For: something is displayed. - The list shows Date, Table Name, Field Name, Action, Original Value, New Value, and Login ID.
- Click Close.