Dataform and Dataform Field Security
In this topic, we will show you how to:
- Set dataform level security
- Set dataform field level or fieldset level security
- Grant access to a secured dataform, field or fieldset
Setting Dataform Level Security
To set dataform level security:
- Go to System Admin
 > Advanced > Dataform Admin.
The Dataform Admin dashboard opens.
- Open the desired dataform by either clicking
 (Open) next to the Dataform Name in the grid or by double-clicking the line item of the dataform in the grid.
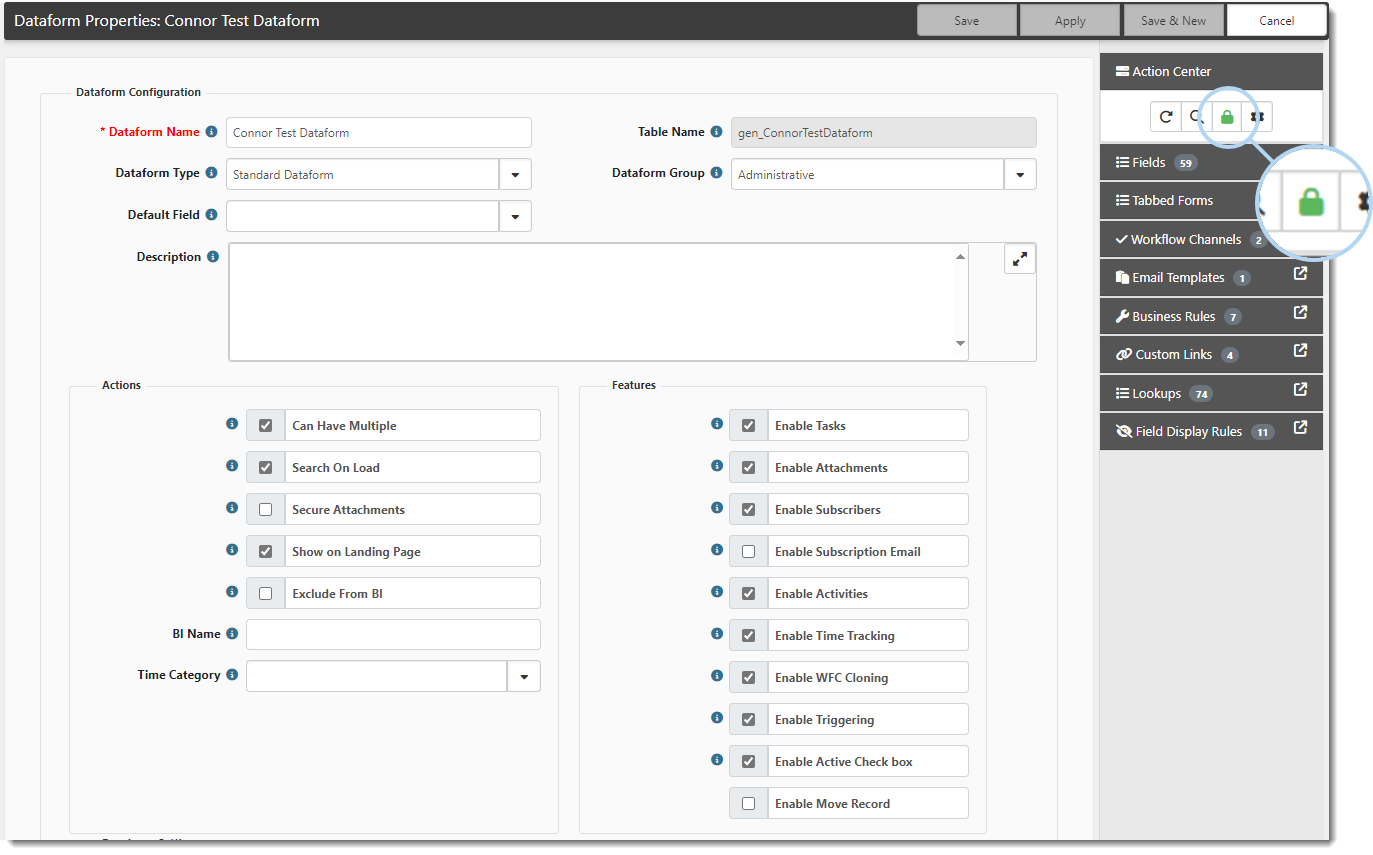
The Dataform Properties form opens. On the Action Center toolbar, a green lock indicates that the form is not secured. A red lock
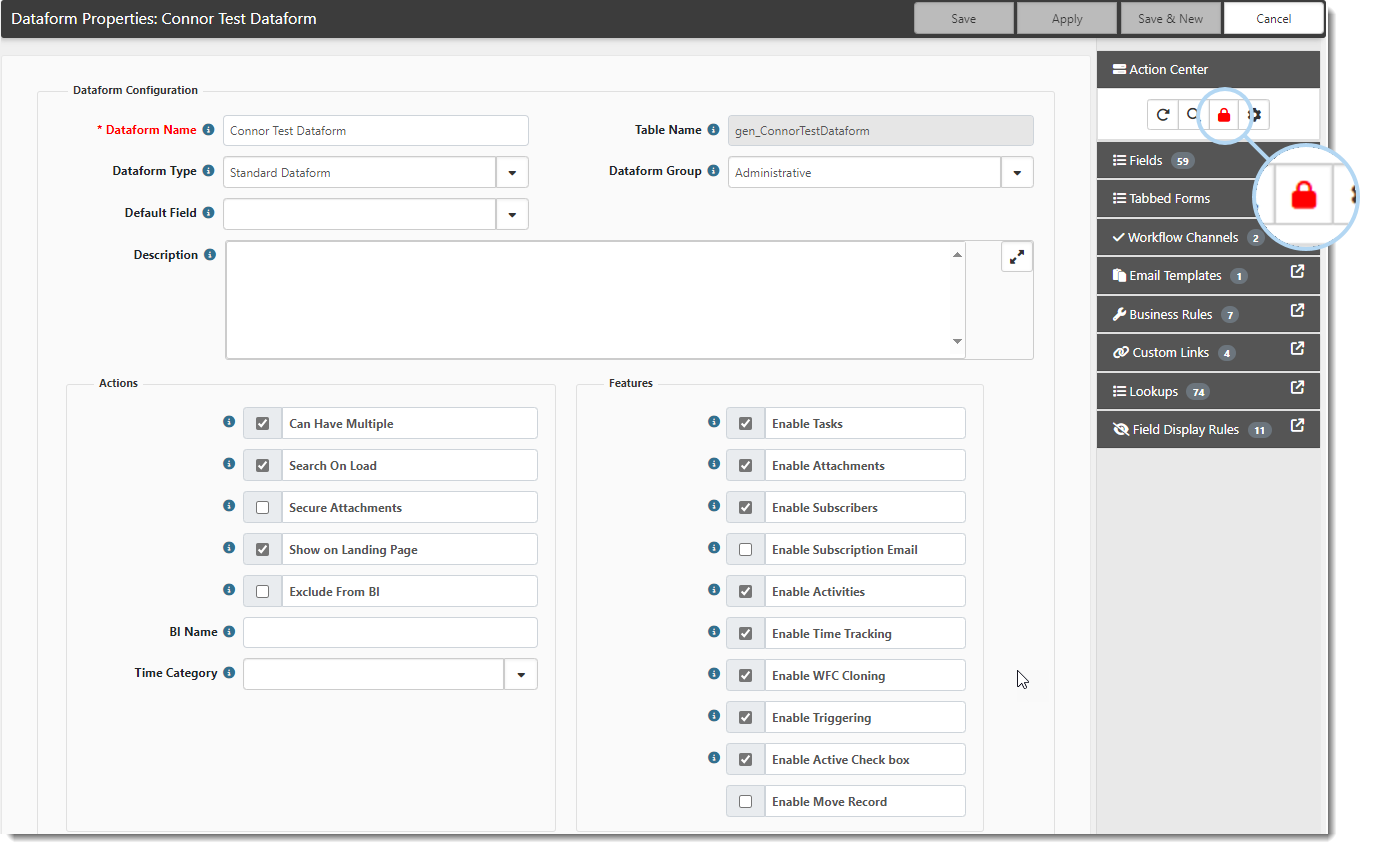
  indicates that the form is secured.
- What do you want to do?
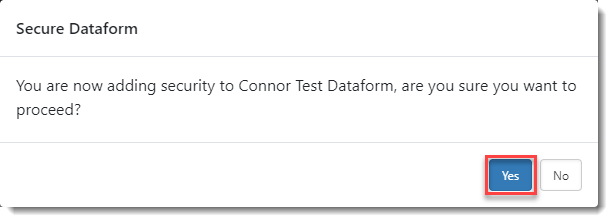
| • | To add security to the dataform: Click the green lock |
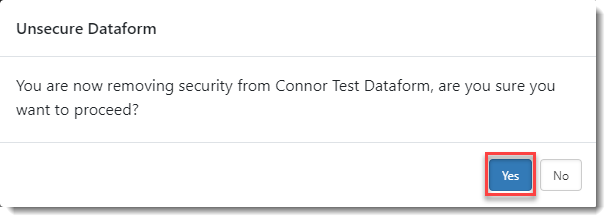
| • | To remove security from the dataform: Click red lock |
- Click Save.
Setting Dataform Field or Fieldset Level Security
To set dataform field or fieldset level security:
- Go to System Admin > Advanced > Dataform Admin.
The Dataform Admin dashboard opens.
- Open the desired dataform by either clicking (Open) next to the Dataform Name in the grid or by double-clicking the line item of the dataform in the grid.
The Dataform Properties form opens. - In the Action Center, click Fields.
The list of fields and fieldsets on the dataform are displayed. - Double-click the field or fieldset
 Dataform fieldsets are descriptive bounding boxes used to group sets of data on dataforms together. Fieldsets can be nested within each other, as well as dynamically hidden or displayed based on trigger values. Dynamically hiding a fieldset hides all of the fields within it. Field requirement is negated when a field is hidden. you want to secure.
This displays the field or fieldset properties. - In the Settings fieldset, click the Secured checkbox to add field or fieldset security.
This creates a security entity for the field or fieldset using the following format: gen_tablename_fieldname or gen_tablename_fieldsetname. A user must be assigned a minimum of View rights to the security entity for a field or fieldset to appear on the form. To edit the field (or fields within a fieldset), the user must be assigned Edit rights.
Note: See Security topics for general guidance on administering security. Also see Configuring Organization and Workspace Security for more information on security inheritance (or hierarchical security) in ClientSpace.
Granting Access to a Secured Dataform, Field or Fieldset
Note: This section is a quick tutorial on how to edit existing roles to add the new security entity you created. This allows users to access a dataform or dataform field/fieldset that you have secured. For complete details on administering security, review all of the topics in the Security section, including Administering Role Security.
To grant access to a secured dataform, field, or fieldset:
| 1. | Click your username in the top right corner of the ClientSpace window. EX: developer |
| 2. | Click System Admin |

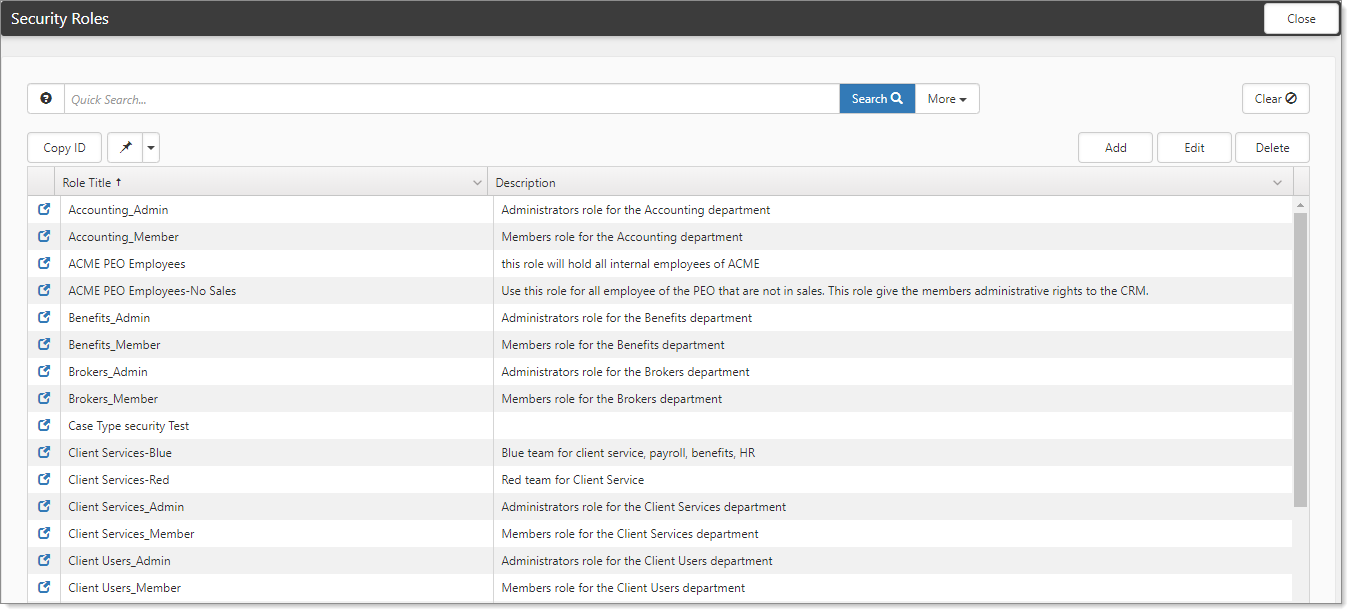
| 3. | Go to Security > Roles. |
The Security Roles dashboard opens.
| 4. | Click |
Tip: Type the Wildcard (% ) Search![]() The Wildcard (%) search symbol is used to search fields for records or list values containing the search string that follows the % symbol. symbol followed by several characters contained in the security role name to help you quickly locate the security entity. Example: %Service Case
The Wildcard (%) search symbol is used to search fields for records or list values containing the search string that follows the % symbol. symbol followed by several characters contained in the security role name to help you quickly locate the security entity. Example: %Service Case
| 5. | In the Action Center, click Entities to view Security Role Entities. |
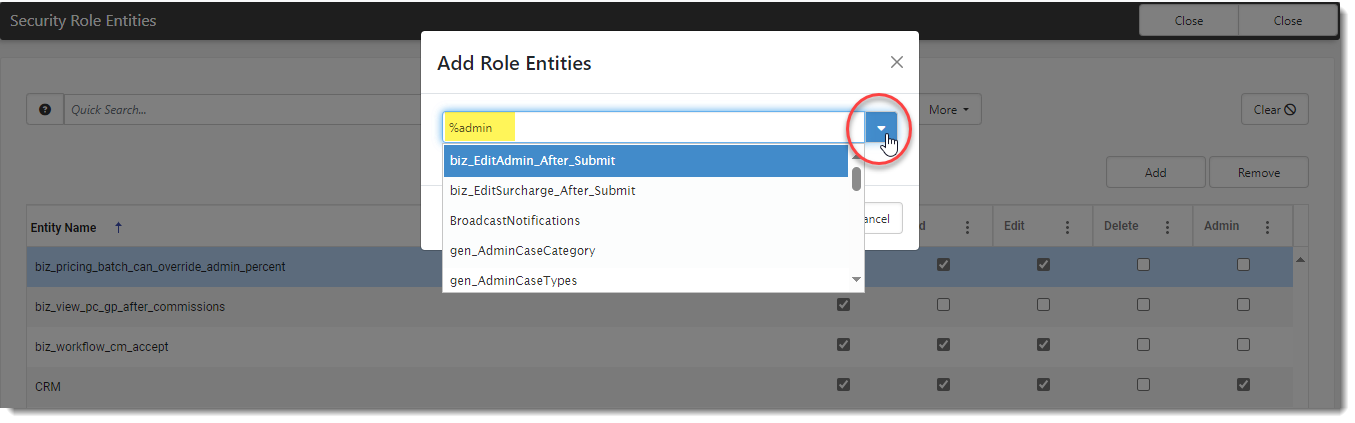
| 6. | Click Add. |
The Add Role Entities window displays.
| 7. | Select the security entity for the dataform, dataform fieldset, or dataform field. |
Tip: Type the Wildcard (% ) Search![]() The Wildcard (%) search symbol is used to search fields for records or list values containing the search string that follows the % symbol. symbol followed by several characters contained in the security entity name to help you quickly locate the security entity.
The Wildcard (%) search symbol is used to search fields for records or list values containing the search string that follows the % symbol. symbol followed by several characters contained in the security entity name to help you quickly locate the security entity.
| 8. | Add the appropriate View, Add, Edit, Delete, and Admin rights to the entity for the role. |
Note:
| • | Saving is not required. The settings are automatically applied. |
| • | Keep in mind when setting dataform and dataform field security that granting Delete or Admin rights to an entity for a role may not grant permission for a user to delete fields and forms in all instances. Users (including Developer users and Global Admin users) cannot delete fields and forms flagged as System fields and forms. Users can (depending on their role and access permissions) delete custom fields and forms. |
| • | Custom field names begin with "z_". EX: z_Fieldname. |
| • | Custom table/form names contain a "z". EX: gen_zDataformName. |