Configuring the "View PrismHR Info" Feature
The View PrismHR feature is a link that allows you to verify an employee's information in the PrismHR application, without needing to open the application. You can continue working in ClientSpace and click a link to view employee information.
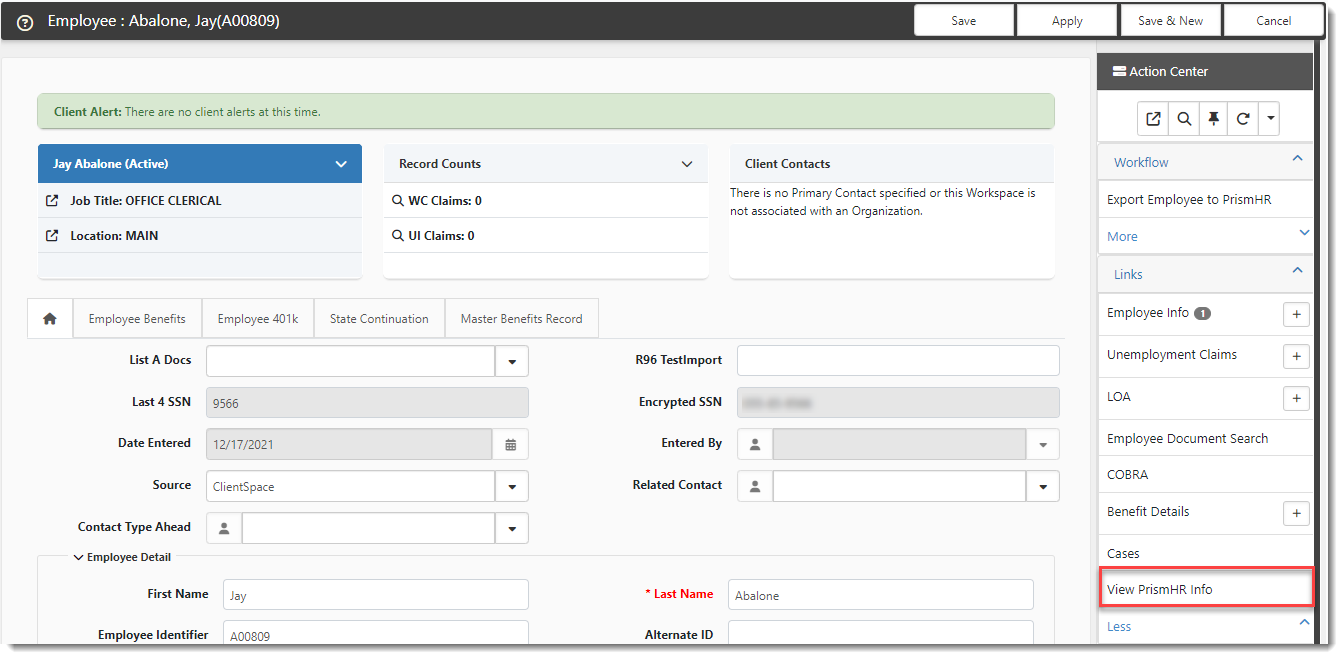
The View PrismHR Info custom link is added to the Employee dataform located in the Employees module:
Once the feature is properly configured, when you open an employee record and click the link, real time employee information from PrismHR displays in a new browser tab similar to the following:
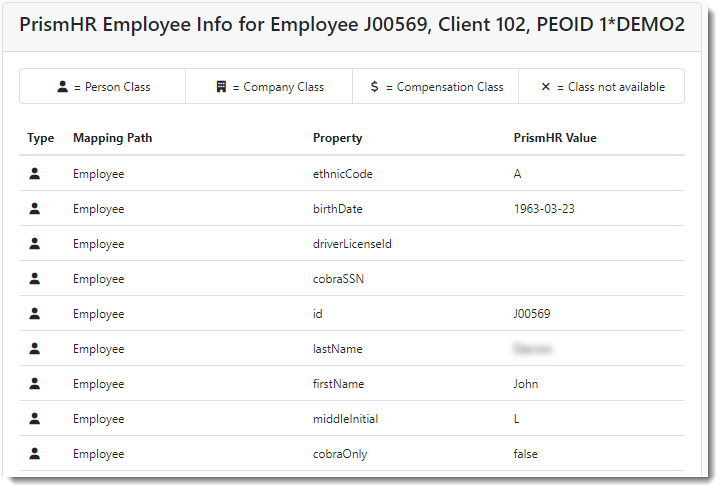
Any fields in the Person, Company or Compensation classes are displayed.
Note:
-
Along with proper configuration of the feature, there must also be a valid entry in the Employee Identifier field of the employee record for the link to display.
-
You must be a Global Administrator to access configuration details for this feature. Configuration may require setup assistance from a ClientSpace support staff member. Please log an extranet case if you require setup assistance.
Setup Requirements and Additional Information
Note: For setup assistance, please log an extranet case.
-
Multi-tenant Considerations: The custom link is designed to work in both single tenant and multi-tenant environments. In a single tenant environment, only a Client Number is required on the Client Master form of a workspace to determine the correct PrismHR database instance. In a multi-tenant environment, the Secondary ID field on the Client Master record must be populated as it is used to determine the correct PrismHR database instance in multi-tenant environments where a Client Number may not be unique. See Multi-tenant Environments in ClientSpace.
-
API Config: An Active API configuration must be present for the Secondary ID. If there is no Secondary ID (i.e., this is a single tenant environment), ClientSpace uses the AppCode parameter present in the PrismHR API configuration. See Ongoing Imports: Configuring the API for Import Map Details.
-
Third-Party Application Record: A Third-Party Application (TPA) record must be created for the PrismHR API (for single tenant environments) or the Secondary ID API (for mulit-tenant environments) and ClientSpace User ID must be mapped to a corresponding PrismHR User ID. See Adding a Third-Party Application (TPA) Record for the "View PrismHR Info" Feature.
-
Scheduled Process: Verify that the PrismHR Update Web Service User scheduled process is Active. See Scheduled Processes.
-
Custom Link: The final step is to configure the custom link which displays on the Employee record. See Configuring the Custom Link for the "View PrismHR Info" Feature.
Adding a Third-Party Application (TPA) Record for the "View PrismHR Info" Feature
Configuring the TPA record consists of two parts:
| • | The Third Party Application (TPA) configuration |
| • | Using mapping of ClientSpace to PrismHR user(s). |
To begin:
| 1. | In ClientSpace, go to System Admin |
The Third Party Application Configuration dashboard opens.
| 2. | Click Add. |
The New Third Party Application form opens.

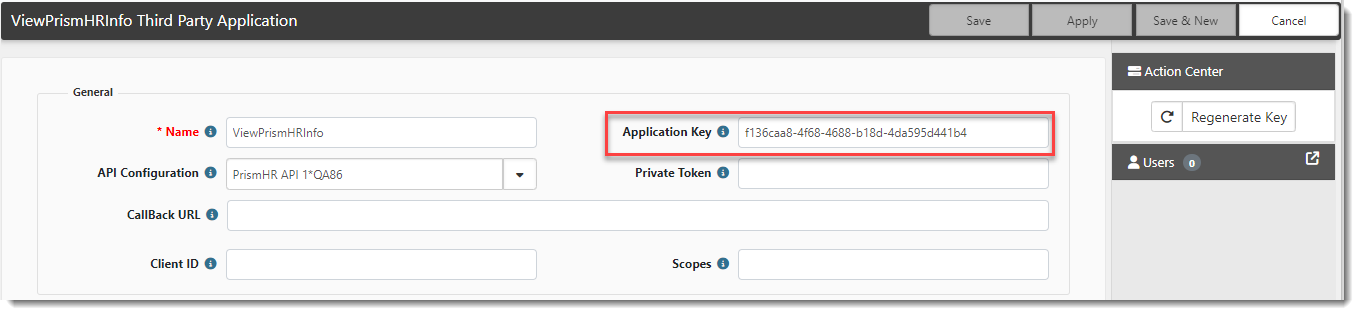
| 3. | Complete the form fields: |
|
Name |
Type a unique name to identify this third-party connection such as ViewPrismHRInfo. |
|
API Configuration |
Select a valid API Configuration from the drop down list. It will either be the PrismHR API (for single tenant environments) or the Secondary ID API (for mulit-tenant environments). |
| 4. | Click Apply. |
The Application Key is auto-generated. Now you are ready to add users to the configuration.
To add users to your third-party application configuration:
| 1. | In the Action Center, click Users. |
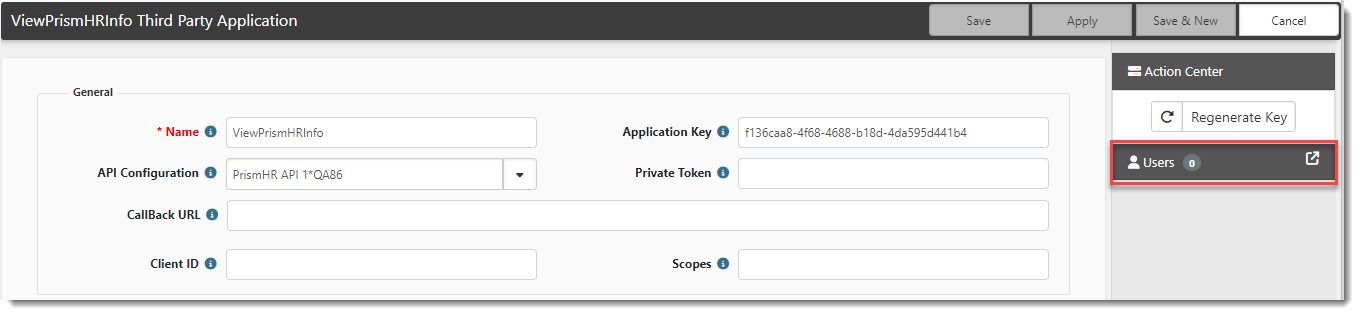
The Third Party Application Users dashboard opens.
| 2. | Click Add. |
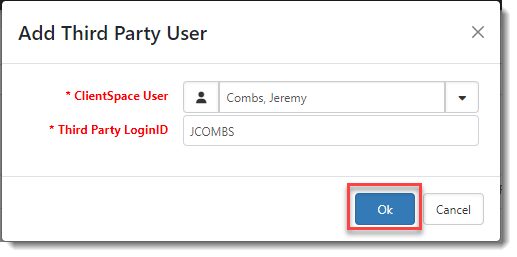
The Add Third Party User dialog box opens. This is where you add user records for each user who will connect from ClientSpace to PrismHR to access employee information.
| 3. | Complete the fields: |
|
ClientSpace User |
Select the ClientSpace user. |
|
Third Party LoginID |
Type the user's PrismHR User ID. |
| 4. | Click OK. |
When you return to the Third Party Application Users dashboard, the newly added user displays in the list.
| 5. | Repeat these steps until you have added all users who will use the View PrismHR Info feature. |
Configuring the Custom Link for the "View PrismHR Info" Feature
To configure the View PrismHR Info custom link:
-
Go to System Admin
 > Advanced > Custom Links.
The Configure Links dashboard opens.
-
Search for the Employee View PrismHR Info record.
-
If the record does not exist, click Add. (You can also refer to Configuring Custom Dataform Links for definitions of all fields and more details on adding the entire custom link record manually, if necessary. However, steps 3 and 4 below cover the required settings that you will need to enter for this link.
-
If the record does exist, double-click the row or click
 (Open).
 -
Configure the link as follows:
Location
Select Employee.
Display Value
Type View PrismHR Info.
Group
Select Link 1.
Sort Order
This determines the order of the links in the group. For instance, if you Type 1 the link displays at the top of the list. If you type 10 and 10 is the greatest number you have assigned for links in this group, the link displays at the bottom of the list.
Display Action
Select Custom Function.
Custom Function
Type Employee.viewPrismHREmployee.
-
To add a link display condition, click Add.
-
Configure the link display condition as follows.
Note: For in depth details on adding a link display condition, see Configuring Link Display Conditions.
Source
Select Header Proc 1.
Field
Select ShowViewHRP.
Operator
Select Equals.
Value
Select Yes.
Label
Leave this field set to Empty.
-
To add link security, click the Security
 icon in the Action Center to access the Security Roles window where you can add one or more roles and secure the custom link to unlimited roles. For in depth details on how to configure link security, see Configuring Link Security.
 -
Click Apply or Save.
