BPM General Configuration
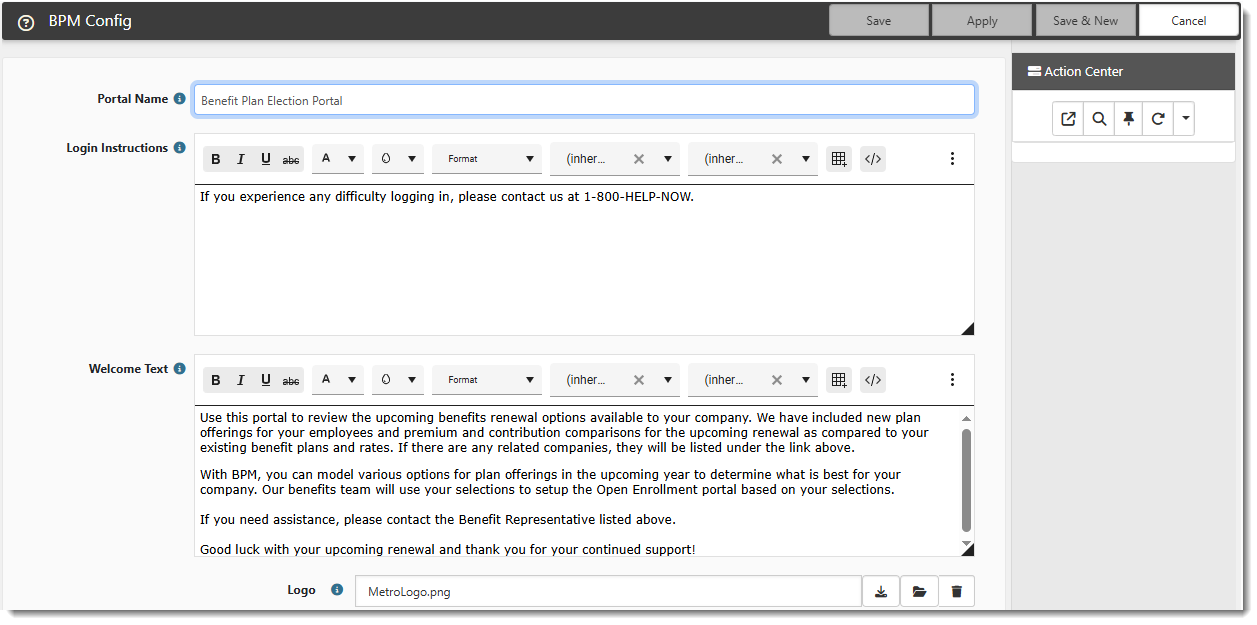
The BPM Config dataform, located in the Admin Workspace, is used to configure the Benefit Plan Manager (BPM) login page and Welcome page that all of your clients will see. It includes fields for the Portal Name, Login Instructions, Welcome Text and Logo. Adding your company logo is optional, but recommended.
This dataform also has a Do Not Show on BPM multi-lookup field which allows you to always hide one or more of the following plans if you do not offer them: HSA, FSA, Commuter Plan.
Accessing the Admin Workspace
There is more than one way to access the Admin Workspace:
-
From the modules bar, click
 Workspaces.
The Workspace Search dashboard opens.
-
Type %Admin in the search box to filter the list of workspaces and locate Admin Workspace.
OR
-
On the modules bar, on the right side, click <username> > Modules.
The Modules Search dashboard opens. The Admin Workspace is listed at the top of the dashboard.
Then, double-click the workspace row in the grid or click ![]() (Open) next to the workspace name.
(Open) next to the workspace name.
Configuring the BPM Welcome and Login Pages
To configure the BPM Welcome and Login pages:
-
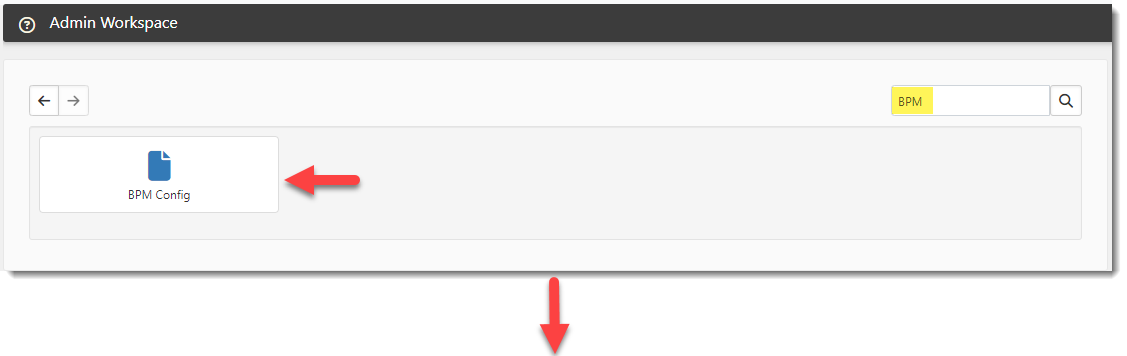
Once in the Admin Workspace, type "BPM" in the dataform search box to display the BPM Config tile and then click the tile to open the BPM Config dataform.
-
Complete the following fields as necessary.
|
Portal Name |
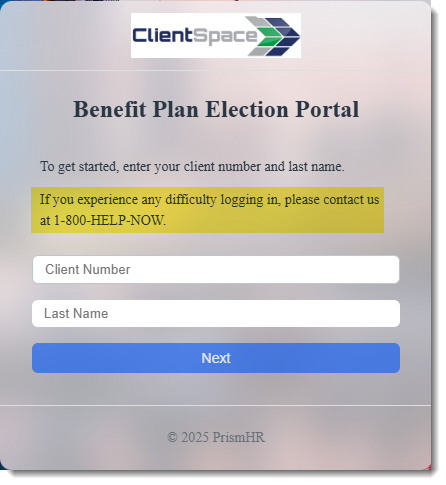
Optionally, add the name of the web portal that displays to your customers. This name displays on the Login page and on the Welcome page:
|
|
Login Instructions |
Optionally, add extra details instructing your customers how to log in or how to receive support if they are unable to login. This additional text displays under the hard coded, default login instructions "To get started, enter your client number and last name."
|
|
Welcome Text |
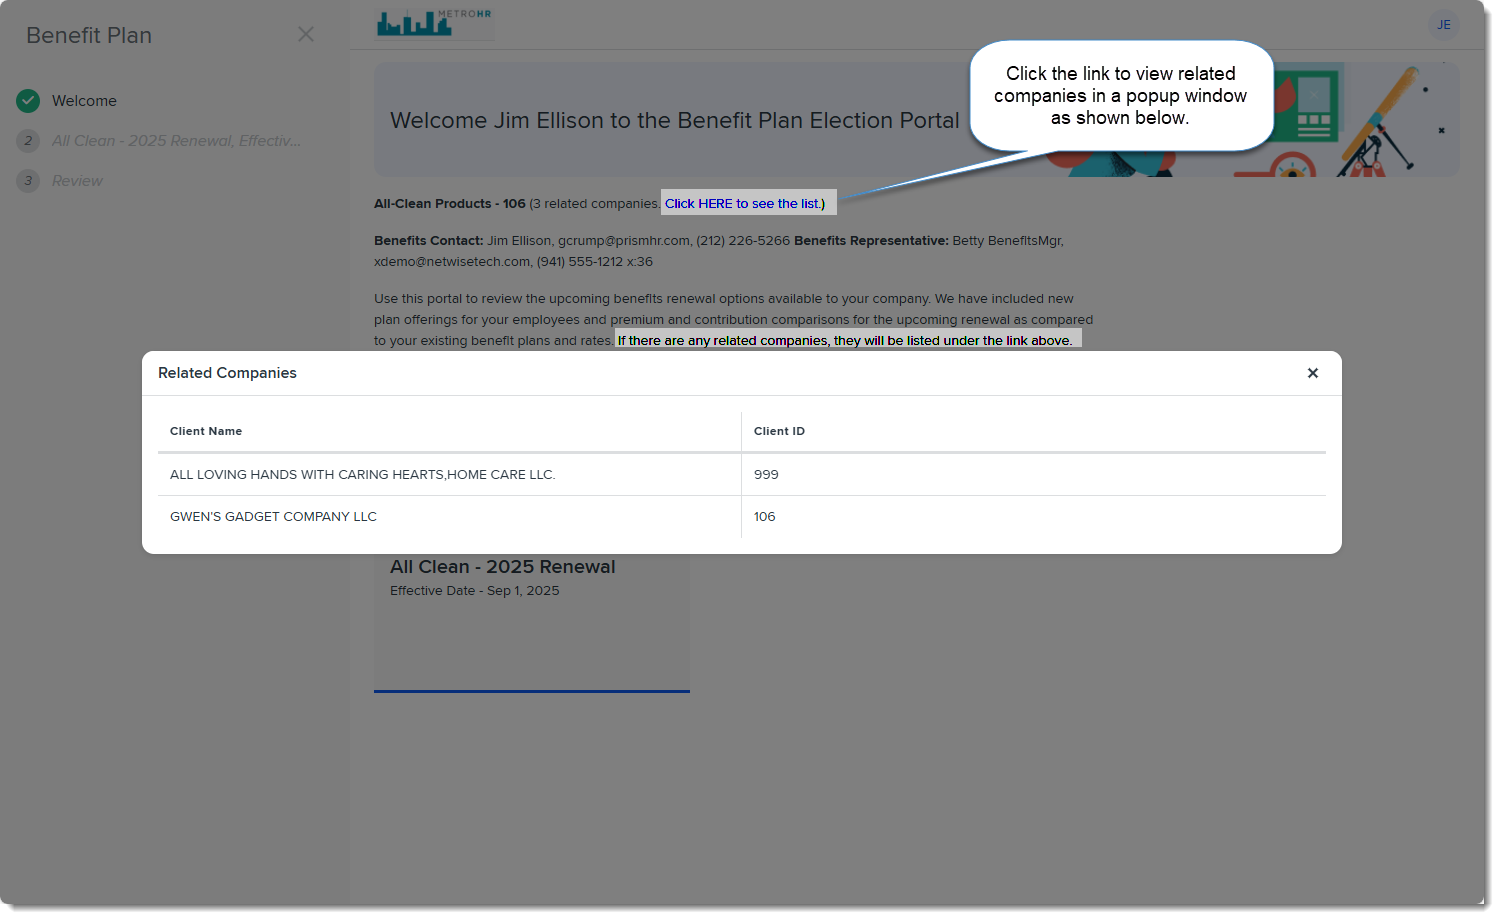
Displays on the Welcome page of the BPM portal. This friendly message should welcome users to your page and explain additional details such as how to navigate the page, how the page works, who to contact for assistance or any additional instructions you want to add. Please refer to the sample text below.
Note: Be sure to describe the basic functionality. For instance, in the example below, we made sure to explain the related companies link.
|
|
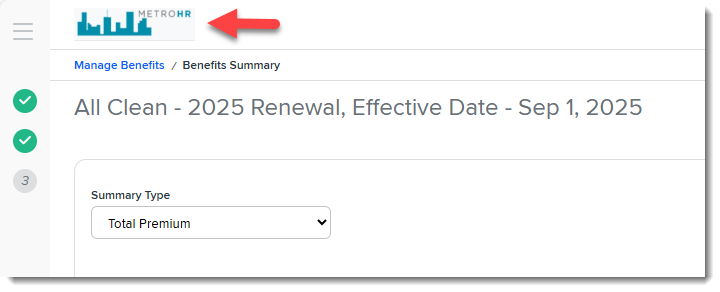
Logo |
Optionally, add your company logo. The logo displays on the BPM Login window and in the header area throughout BPM:
To add a logo:
|
|
Do Not Show on BPM |
The Do Not Show on BPM multi-lookup field allows you to always hide one or more of the following plans in BPM if you do not offer them: HSA, FSA, Commuter Plan. Select one or more plans as applicable. The selected plans will not appear on the Signature page of BPM.
|


-
Click Save on the BPM Config dataform.