Adding Client Visits
Keeping your finger on the pulse of your clients is essential, and nothing makes this easier than regular client visits. Client visits help to keep you in touch with the state of the client relationship and can help to head off issues before they occur. You can add visits through the Visits dashboard or directly from the Workspace, using the Client Visit form. Let's add a visit from the Workspace.
- On the modules bar, click
 Workspaces.
The Workspace Search dashboard opens. - Locate a workspace and click
 (Jump).
 - Move to the bottom of the page where you see the dataform tiles and click Client Service > Client Site Visit.
The Client Site Visit dashboard opens. - Click Add.
The Client Visit Add form opens with some of the fields filled with default values. - Complete the following fields:
|
Location |
Select the client location. |
|
Visit Type |
The available Visit Types are based on the selected Department. Visit types with an (R) indicate a recurring visit. When you mark the visit as Completed, and refresh the Client Visit dashboard, the next Planned visit appears in the list. |
|
Visit Status |
Indicates the state of the visit. This is a read-only field, controlled by the Workflow Links in the Action Center. |
|
Visit Date |
The planned visit date. After the date is confirmed, change the Status to Confirmed, and then click Save. To put this event on your calendar:
|
|
Department |
This is the internal department that is conducting the visit. Department selection determines the available items in Visit Type. |
|
Visit Goals |
Provide notes about your visit goals. |
- Click Save.
- When the visit is confirmed with the client, in the Action Center, click Confirmed.
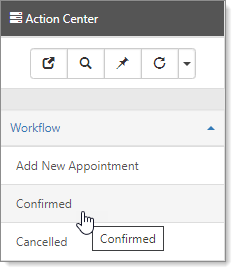
The Visit Status changes to Confirmed.
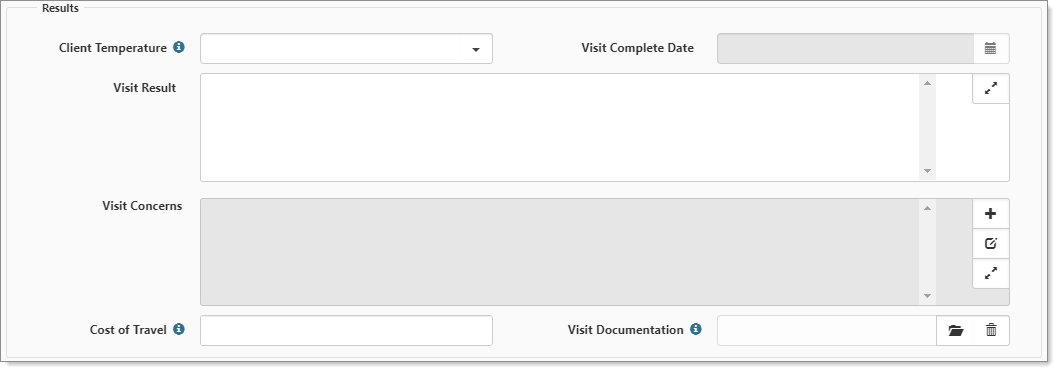
- Complete the fields.
|
Client Temperature |
Select a color to indicate the client's level of satisfaction:
|
|
Visit Complete Date |
Auto-filled when the visit is complete. |
|
Visit Result |
Provides notes to document your visit. |
|
Visit Concerns |
Provides notes to document any client concerns. |
|
Cost of Travel |
Add the cost of travel for your expense reporting. |
|
Visit Documentation |
You can upload any documents that are associated with this visit. |
- Click Save.
You are returned to the Client Visit dashboard. The confirmed or completed visit is now in the list.
Occasionally it is necessary to move a visit from one workspace to another (for example, the visit was added in the wrong workspace). Use this procedure to move a visit.
-
Select the Visits module.
-
On the Visits dashboard, select
(Jump) for the row that contains the visit to move to another workspace. -
Select the Move Visit action item from the Action Center.
The Move Visit window displays.
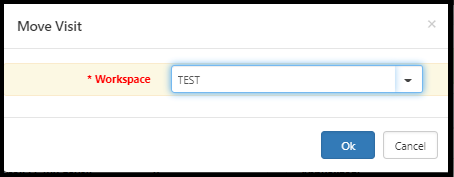
-
Select a workspace in the Workspace field and click Ok.
The system displays a soft error message to confirm the change. Contacts are associated with the organization from which the workspace was created, so any contacts associated with the visit must be removed when changing workspace.

- Click Save Anyway to proceed with changing the workspace associated with the visit.
To learn about setting up recurring visits, go to the next topic, Configuring Recurring Visits.
To watch how to add a Client Visit, see Learning how: Client Visits .