This topic guides you through adding, editing, and Deleting a Leave of Absence (LOA) record. You can access the Leave of Absence (LOA) module directly from the modules toolbar or you can click the LOA link on an employee record to add an LOA record for the selected employee.
Adding or Editing a Leave of Absence Record
To add or edit a Leave of Absence record:
-
Access the Leave of Absence module.
-
Click the Leave of Absence module shortcut on the Module bar.
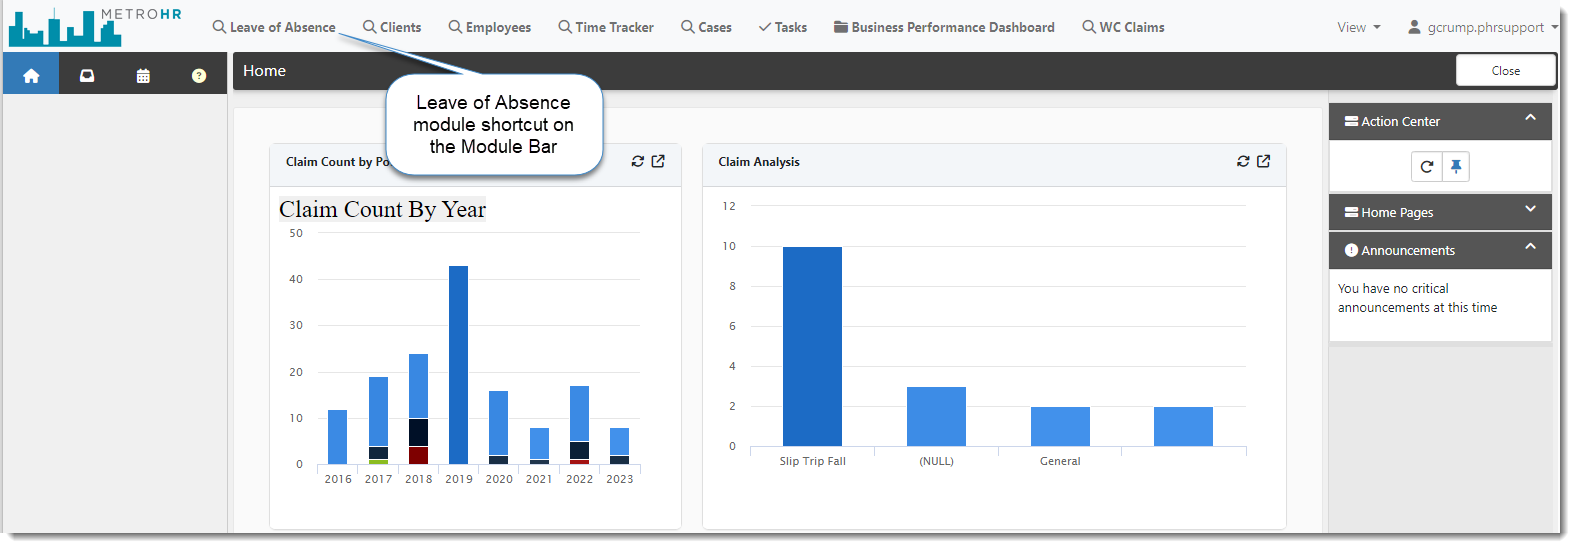
The Leave of Absence dashboard displays.
-
Click Add to add a new record or search for an existing record and click
 (Open) next to the record in the grid.
-
If you selected an existing record: The Leave of Absence record displays the record details.
-
If you are adding a new record: The Workspace Selector window displays. Pick a workspace from the Choose a Workspace field and click GO or select a recent workspace from the list. The Leave of Absence: Add window displays
-
OR
-
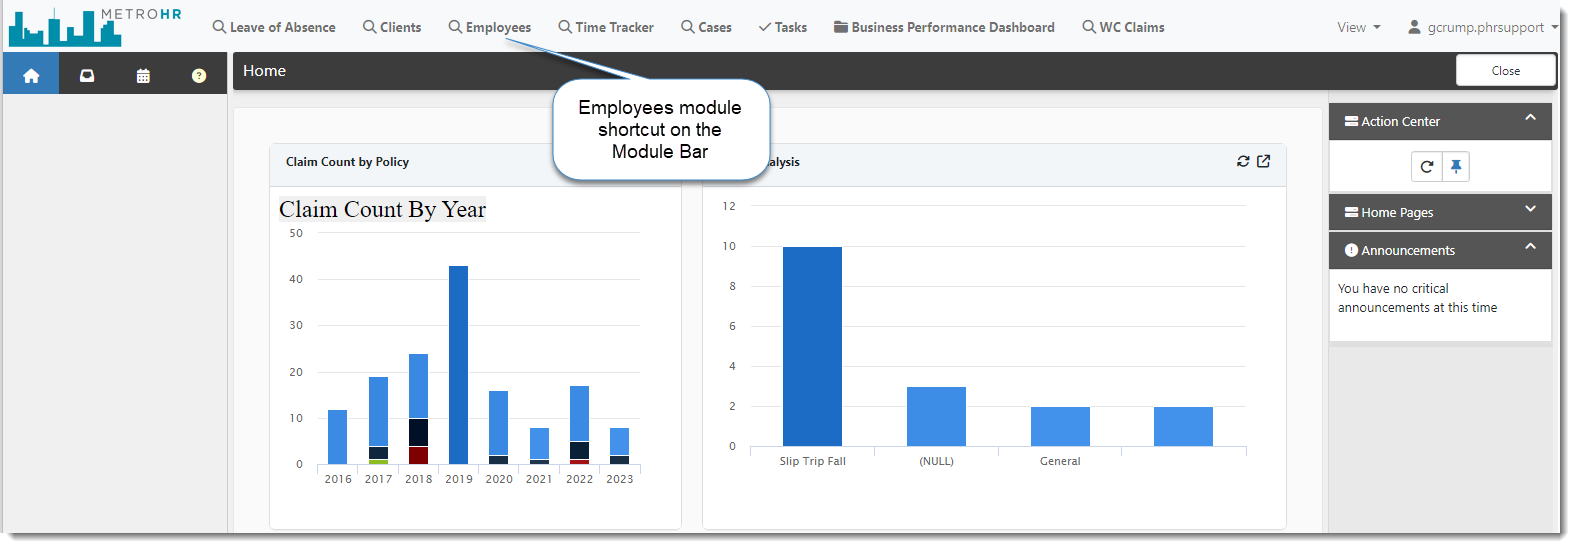
Click the Employees module shortcut on the Module bar.
-
Open the desired employee record.
-
In the Action Center, under Links, click LOA.
-
What do you want to do?
-
If there are existing LOA records for the selected employee: The Leave of Absence dashboard displays, filtered to show only LOA records for the selected employee. From here, you can click
(Open) next an existing record to edit the record details OR click Add to add a new record. -
If there are no existing LOA records for the selected employee: The Leave of Absence: Add window automatically displays with the selected employee's name pre-populated in the Employee Name field.
-
-
-
Complete the form.
|
Fieldset |
Field |
Description |
|---|---|---|
|
Disability Details: |
|
|
|
|
Employee Name |
Required field. Select the Employee Name. The field may be pre-populated if you are adding the record from an Employee record. |
|
Date Request Received |
Required field. Date of the formal leave request. |
|
|
Category |
Required field. The Category controls the available options that display in the Type of Leave field. EX:Disability, WC (for Workers' Compensation) or Other. Note:
|
|
| Type of Leave |
Required field. The Type of Leave list is filtered based on Category selection. EX: Disability
WC
Other
Note: This field uses the lookup group TypeofFMLALeave. |
|
| Status |
Required field. This is the status of the leave request. Upon adding a new LOA record, the field defaults to Pending. Note: This field is customizable and uses the lookup group LOAStatus. |
|
| Rejection Reason |
This is the reason a claim was not approved. You cannot update the claim with the Rejection Reason until after the Status is changed to Rejected. EX:
Note: This field is customizable and uses the lookup group RejectionReason |
|
| FMLA Eligible |
Select Yes or No. If you select Yes, the Employee Paperwork and Employer Paperwork fieldsets display where you can enter all of the required information for FMLA leave. If you select No, the Eligibility field becomes available. This is where you identify whether eligibility is met for leave requests that are not FMLA. Note:
|
|
| Eligibility |
This field becomes available when FMLA Eligible is set to No. This is where you identify whether eligibility is met for leave requests that are not FMLA. EX:
|
|
| Disability State | State where the employee applied for disability. | |
| Leave Start Date | Date the employee's leave begins. | |
| Estimated RTW Date | Employee's estimated return to work date. | |
| Actual RTW Date | Date the employee returned to work from leave. | |
|
|
Notes |
Space for additional notes related to the request. Click |
|
Benefits Information: |
|
|
|
|
Employee Paid Premiums | Track the amount of Employee Paid Premiums for COBRA. |
| Checks Due | Track the date when the Employee's COBRA premium check is due. | |
| Checks Received | Track the date when the Employee's COBRA premium check is received. | |
| F/U call re COBRA | Track the date of a COBRA follow-up call to the employee. | |
| Received Client Term Letter | Track the date the COBRA termination letter was received. |
- Click Save.
Deleting a Leave of Absence Record
Note:
-
The Delete button is only available on the Leave of Absence dashboard if you have been assigned a role with Delete permissions.
-
You cannot delete a Leave of Absence record that has an attachment associated with it. If you attempt to delete a record with attachments, the following error message displays:
"This Leave of Absence record has attachments and cannot be deleted."
You must open the record and delete the attachment first before you can delete the record.
To delete a Leave of Absence record:
-
Access the Leave of Absence module.
-
Click the Leave of Absence module shortcut on the Module bar.
The Leave of Absence dashboard displays.
-
-
Locate the record in the grid you want to delete and then click it to select it.
-
Click Delete.
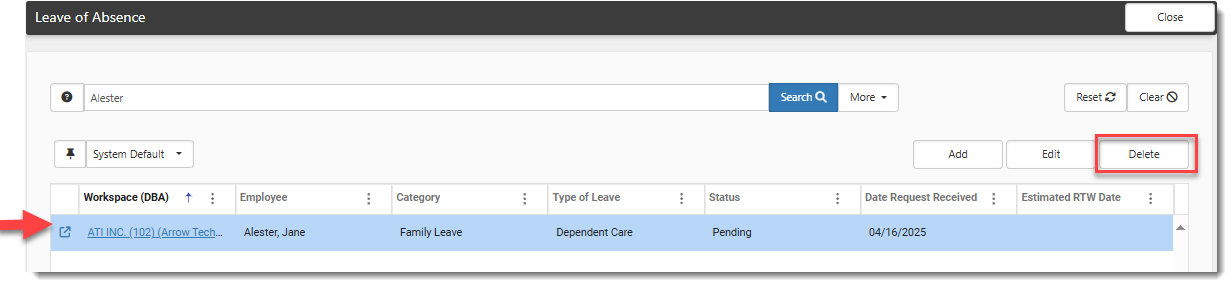
If the record has no attachments, the following confirmation message displays:
"Are you sure you want to delete this Leave of Absence?"
-
Click OK to continue.
The record is deleted.