Renewing a Benefits Batch
This article details the steps for renewing a Benefits Batch. Also refer to Benefits Batch Renewal Process Overview.
To renew a Benefits Batch:
- From the modules bar, click
 Workspaces.
The Workspace Search dashboard opens. - Select the desired workspace and click
 (Open).
The Workspace page opens. -
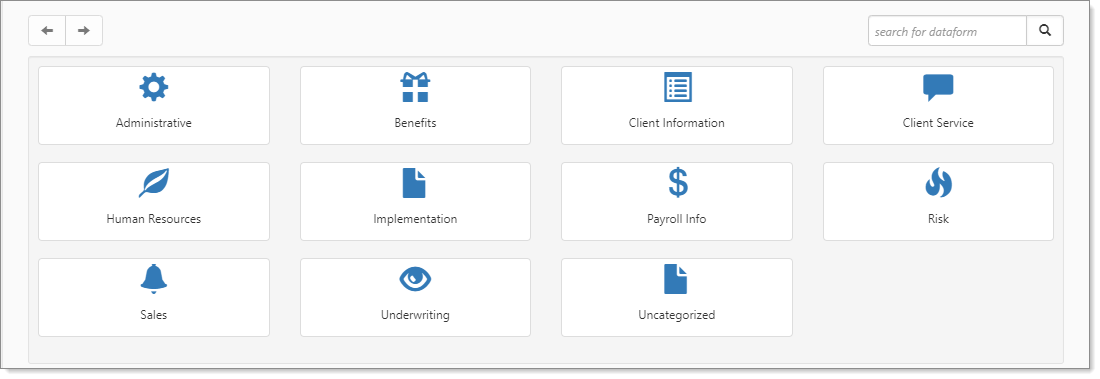
Move down the page to the administrative tiles where you see the dataform categories.
-
Enter "Benefits Batch" in the search for dataform field and then click the Benefits Batch tile.
The Benefits Batch window displays.
-
Open the batch you want to renew.
-
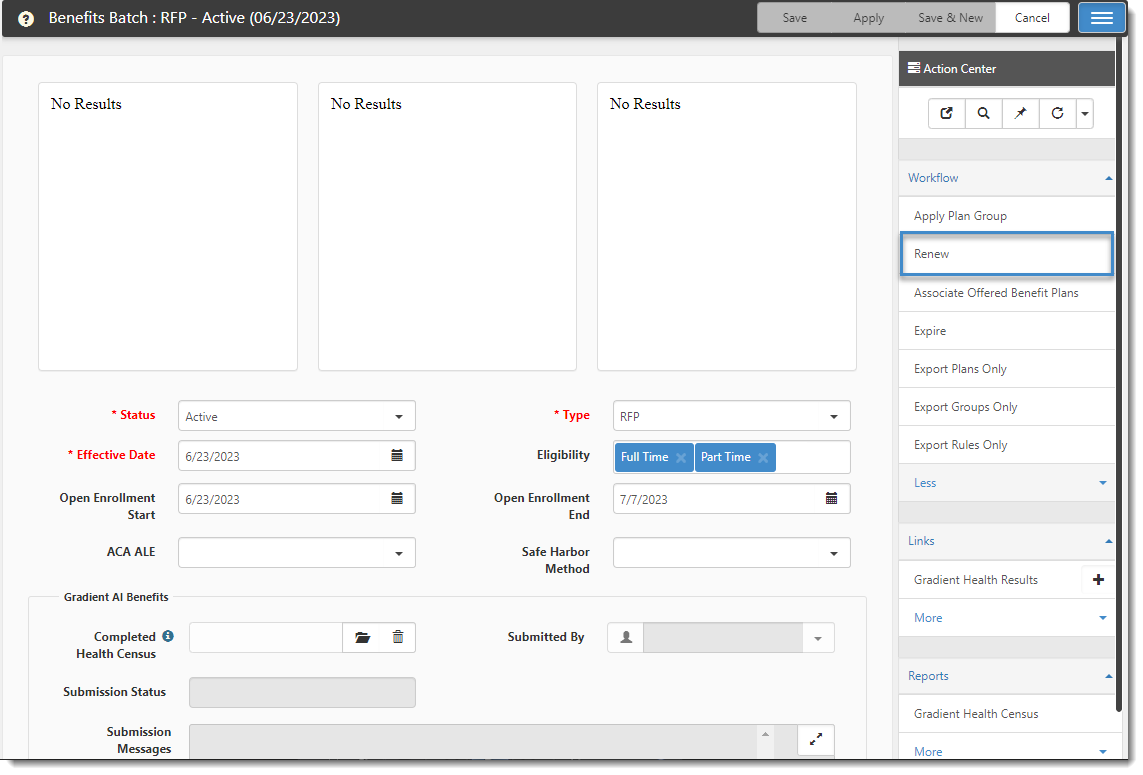
On the Benefits Batch form, in the Action Center under Workflow, click Renew.
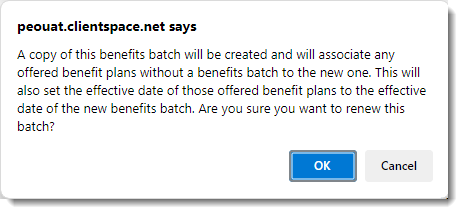
A confirmation message displays similar to the following.
-
Click OK on the confirmation message.
The system compares the associated master benefit plan of each offered benefit plan to the Renewed From field value of each Active master benefit plan and attempts to match each offered benefit to a renewed plan.
-
If one or more offered benefit plans in the batch do not match a renewed master benefit plan or have a status of Rejected, Expired, Cancelled, or Inactive: The system displays an alert similar to the following:
You can click the X in the upper right corner to cancel the message so that you can review and verify the referenced plans OR you can click Save Anyway to remove the offered plans referenced in the alert from the batch.
-
If you select Save Anyway OR you had no alert, each offered benefit plan that matches a renewed master plan is added to a new Pending renewal batch. The renewal process clones the offered plan details from the current benefits batch to the new Pending renewal batch. See Benefits Batch and Offered Benefits Plan Cloned Fields.
Note: The cloning process also copies any Risk Factor field values from the current benefits batch to the new Pending renewal batch.
-
-
Select the newly created Pending renewal batch and click
 (Open).
The system sets the Effective Date using the following logic:
-
If the Benefits Batch that the Pending renewal batch is being renewed from has an Expiration Date, the Pending renewal batch Effective Date is calculated as the prior year's batch Expiration Date plus one day.
-
If the Benefits Batch that the Pending renewal batch is being renewed from does not have an Expiration Date, the Pending renewal batch Effective Date is calculated as one year out from the prior year's batch Effective Date.
The system sets the Pending renewal batch Expiration Date field value one year from the current year's Effective Date minus one day.
-
-
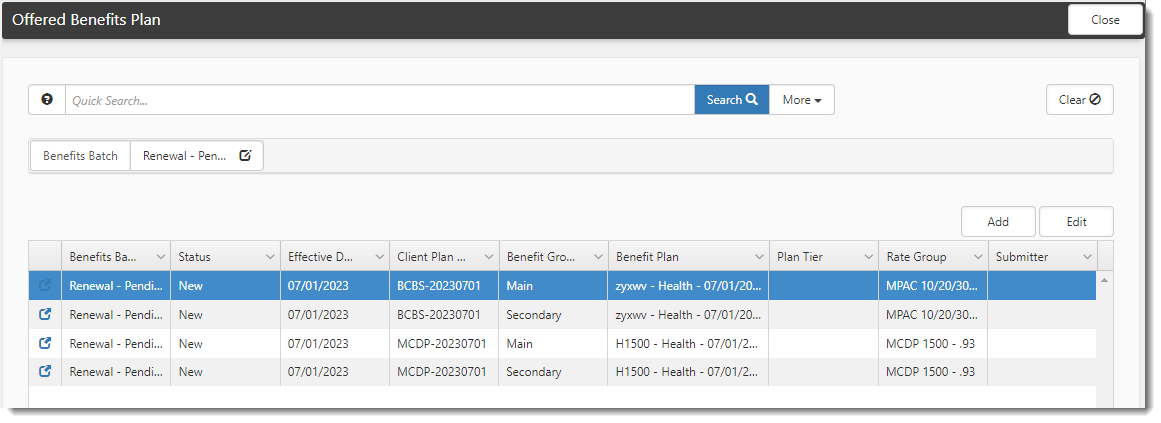
On the Benefits Batch form, in the Action Center under Links, click the Offered Benefit Plans link. The Offered Benefit plan window opens with all pending offered plans listed in the grid as shown in the image below:
-
Open each offered plan, review the cloned details, making any changes as necessary.
Note: Depending on your configuration, selecting Cancel in the Status field of the OBP to exclude it from the list of offered plans inactivates the OBP.'
-
Optionally, If there are new offered benefit plans wish to add to the Benefits Batch, in the Action Center under Links, click
 next to Offered Benefit Plans and add the offered benefit plan to the batch. Repeat this step until all offered benefit plans you want to add are in the batch. Also see Offered Benefit Plans.
 -
On the Benefits Batch form, use the workflow links to track the Benefits Batch through the renewal process.
Note: Some options may not be available depending on your configuration.
-
Pending - A Pending status indicates that the batch is in progress and not yet ready to present to a client. Manually select this status when a new batch is added.
-
Prep For Presentation - Used to indicate that you are preparing OBPs to present to the client. This status is typically set when the Prep For Presentation workflow link is clicked but may also be manually selected from the Status drop down list.
-
Client Review - Used to indicate that you are in the process of reviewing OBPs with the client. Also triggers the Client Benefit Workbook Review email template. This status is typically set when the Client Review workflow link is clicked but may also be manually selected from the Status drop down list.
Note: The Client Benefit Workbook Review email template sends an email to the Renewal Client Contact listed on the Benefits Batch with the Benefits Renewal Workbook attached for them to review. The email is triggered when the value in the Benefits Batch Status field equals Client Review. If you do not have this option, you can manually create a Benefits Renewal Workbook by clicking the Benefit Renewal or Docusign Benefit Renewal link under Reports in the Action Center. Also see Benefits Renewal Merge.
-
Update Client Selection - Used to indicate that you are in the process of updating the client's selected benefits for the year. This status is typically set when the Update Selections workflow link is clicked but may also be manually selected from the Status drop down list.
-
Sent For Approval - Used to indicate that you have sent the client's benefit renewal selections that you have updated in ClientSpace back to them for approval. This status is typically set when the Send For Approval workflow link is clicked but may also be manually selected from the Status drop down list.
-
Approved - Indicates that you have received approval from the client on their benefit renewal selections. This status is typically set when the Approved workflow link is clicked but may also be manually selected from the Status drop down list.
-
Prism Setup - Indicates that you are in the process of setting up the selections in the PrismHR application. This status is typically set when the Prism Setup workflow link is clicked but may also be manually selected from the Status drop down list.
-
Enrollment - Indicates that the client is in the Open Enrollment period. This period may be identified in the Open Enrollment Start and Open Enrollment End fields on the Benefits Batch. This status is typically set when the Start Enrollment workflow link is clicked but may also be manually selected from the Status drop down list.
-
Pending Activation - Indicates that the benefits are ready to be activated. This status is typically set when the Pending Activation workflow link is clicked but may also be manually selected from the Status drop down list.
-
Active - Indicates that the offered plans in the batch are finalized and active as of the Benefits Batch Effective Date.
-
Expired - Indicates that the offered plans in the batch are expired. The expiration date, if entered, may show in the Benefits Batch Expiration Date field.
-
Cancelled - Indicates that the benefits batch has been cancelled.
-
-
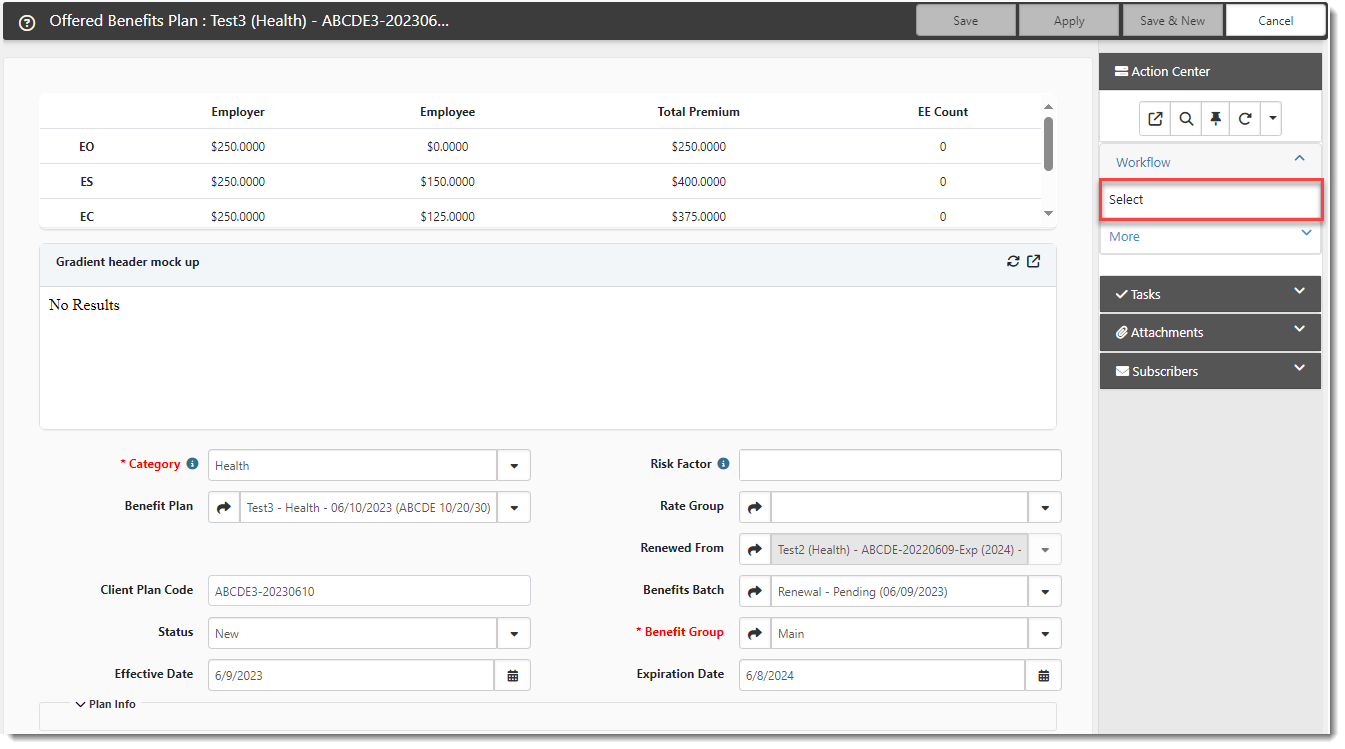
Once the Benefits Batch is in Approved status, open each OPB and click Select under Workflow in the Action Center to mark it for export to PrismHR.
Note: If you require signed approval of the Benefits Renewal Workbook before setting the status to Approved, make sure you have followed the necessary steps to obtain approval and that the approved document is attached in the Renewal Approval field.
-
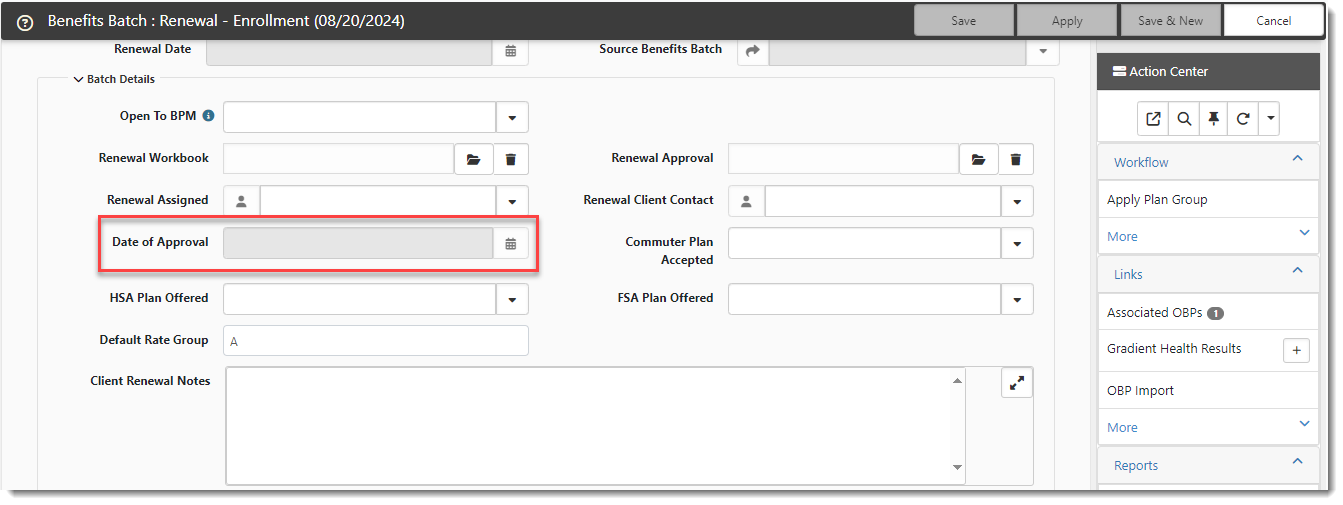
Once the Benefits Batch is in Approved status, depending on your configuration, there may be Date of Approval field in the Batch Details fieldset of the Benefits Batch dataform where you can set the date the client approved the batch.
