Creating a Workspace
Use the Create Workspace feature on the Workspaces module to quickly create a Workspace from a Template. The link is hidden unless Can Create Workspaces is enabled. This option is on the User Profile in Administrator Settings.
You need the following to create a workspace:
- Can Create Workspaces option enabled on your user profile.
- Access to System Admin
 > Modules.
To enable Can Create Workspace:
-
Go to <username> >
 My Profile.
The User Details form opens.

-
In the Administrator Settings fieldset, review the setting for Can Create Workspaces.
-
If disabled, select the option Can Create Workspaces.
-
Click Apply or Save.
To add a Workspace:
-
Go to <username> > Modules.
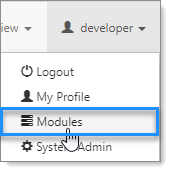
The Modules Search dashboard opens.
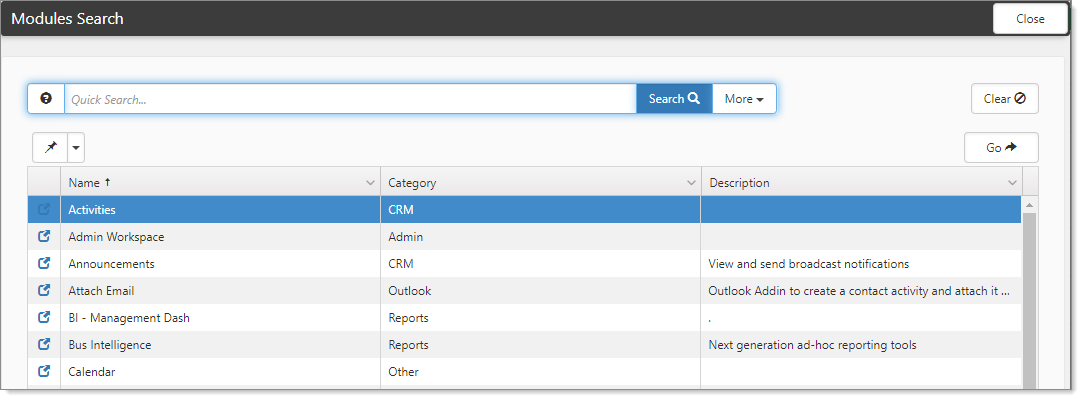
-
Select Workspaces, and click Go.
The Workspace Search dashboard opens.
-
Click Create Workspace.
The Create New Workspace dialog box opens.
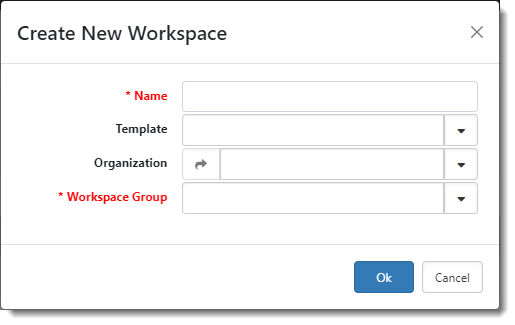
-
Enter a Name.
-
Template options are filtered by Templates that are set to Allow Manual Creation.
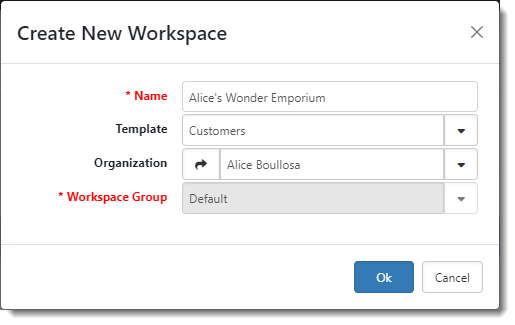
If you select a template, Workspace Group, a required field, defaults to the Workspace Group associated with the template and the field becomes read-only.
Note: Workspace Groups support workflows in ClientSpace. For instance, a designated Workspace Group may control whether the case types associated with a case category are available for selection when adding and managing cases within the workspace. For example, you may determine that case types in the Accounting category may only be associated with the Clients and Prospects Workspace Groups.
-
Select an Organization.
-
Select a Workspace Group such as Clients, Prospects, etc. if you did not specify a template in Step 5 above.
-
Click Ok.
To review the available templates:
-
Go to System Admin
> Workspace Templates.
The Workspace Template Search dashboard opens, displaying the available Workspace Templates.
To set a template to Allow Manual Creation:
-
Go to Workspaces and open the targeted workspace.
-
In the Action Center, select More Options >
 Settings.
 -
Select the option Allow Manual Creation.
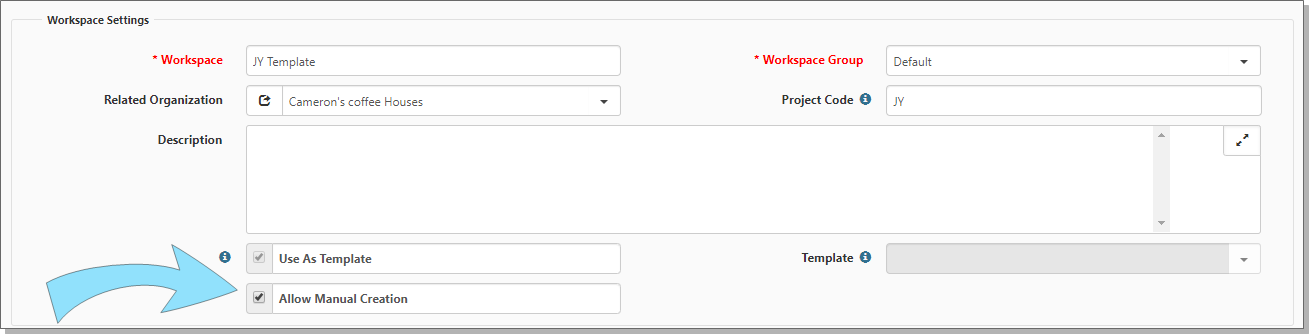
-
Click Save.