Configuring the Salesforce API in ClientSpace
In this topic, we cover the details of the major steps required for the ClientSpace Setup phase of the Salesforce API implementation. The ClientSpace team member assigned to assist you with the implementation performs many of these steps but may call on a designated person at your company to assist if needed.
To configure ClientSpace:
| 1. | Go to System Admin |
The API Configuration dashboard opens.
| 2. | Click Add. |
The New API Configuration form opens.
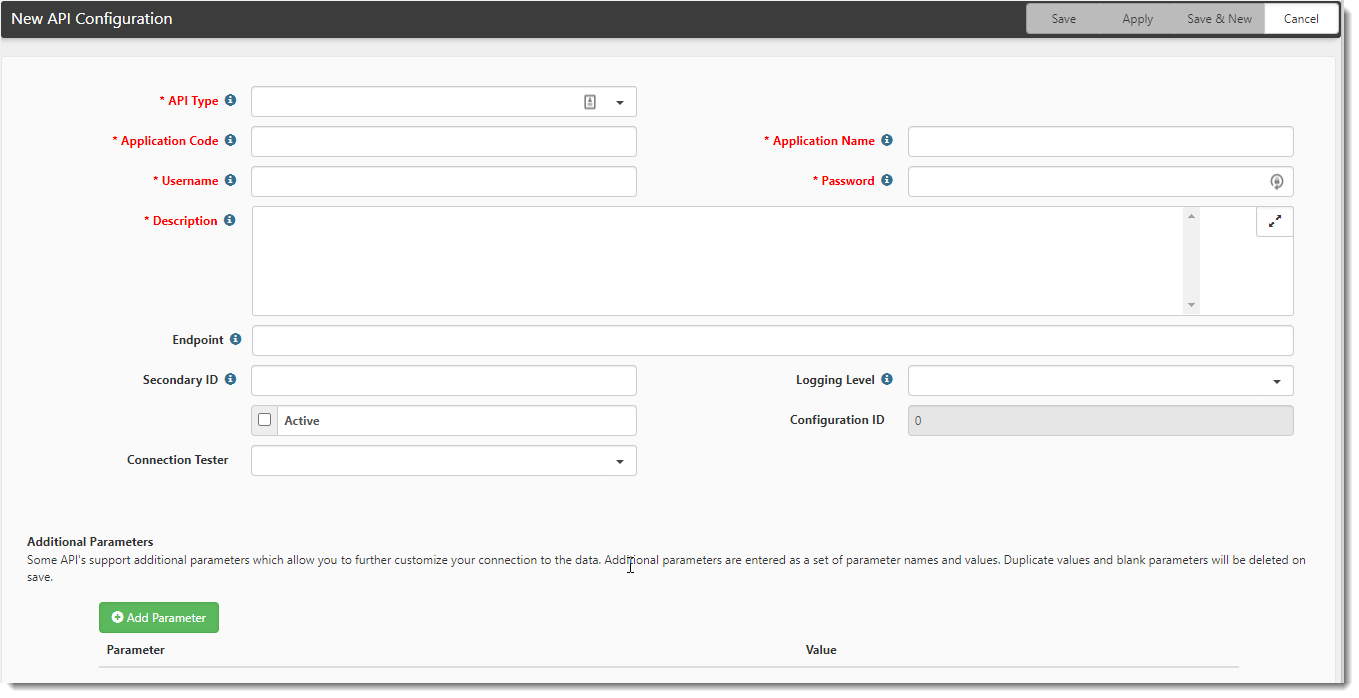
| 3. | Complete the following fields: |
| API Type | Select Web Service. | |||||||||
| Application Code |
|
|||||||||
| Application Name | Type Salesforce Integration (user choice) | |||||||||
| Username | Enter the username of the API account. | |||||||||
| Password | Enter the password of the API account. The password is comprised of the password AND the security token. | |||||||||
| Description | Provide a description (optional). | |||||||||
| Endpoint |
Endpoint must be the base OAUTH server. This matches the Callback URL setting in Salesforce. Example: Note: You can specify a backup endpoint by configuring the AlternateEndpoint parameter in the Additional Parameters section of the API Configuration form. |
|||||||||
| Secondary ID | Not used. Leave blank. | |||||||||
| Logging Level |
|
|||||||||
| Active | Checked by default. | |||||||||
| Configuration ID | Auto-fills. No data entry required. | |||||||||
|
Connection Tester |
Select ClientSpace.Core.DataAccess.SalesforceConnectionTester and Save or Apply to display the Test Connection button.
Note: This field works in tandem with the Test Connection button. Once configuration of the Salesforce API is completed, if the Connection Tester field is set to ClientSpace.Core.DataAccess.SalesforceConnectionTester, clicking Test Connection initiates an attempt to connect to the API and either returns a "Connected Successfully" message or an "Unable to connect" message. The "Unable to connect" message details list the missing parameters contributing to the failure to connect. |
| 4. | Add Additional Parameters. Click Add Parameter to add a new row to the Additional Parameters section if the parameter is not already listed. |
Note: Additional Parameters are semi-colon delimited name=value pairs, such as param1=value1;param2=value2. Spaces between parameters are not allowed.
Example: “;<space>param2=” is invalid.
Refer to Additional Salesforce Parameters for the complete list of available parameters.
| 5. | Click Apply or Save. |