Managing Import Data
ClientSpace provides a powerful toolset to import and connect data with external systems. It can be tricky to manage. Connecting imported data to existing data in the system is useful and requires understanding your data and how the underlying tables relate.
When configuring imports, it is essential to understand the data relationships within your installation. Each record to be imported must have a unique identifier (ImportID) as well as at least one column containing a method for relating that imported record to another record in the system, be it an Organization, Workspace, Contact, or a combination of these. An incorrectly configured import can corrupt or overwrite existing data, which can then be difficult or even impossible to fix or replace.
When importing data, the system will only insert one instance of a single dataform into a workspace. The system performs validation for single dataforms to prevent the creation of duplicates for a workspace. For example, if you attempt to import data into a single dataform in a workspace and there is an existing single dataform of that type in the workspace but the import ID in the import file does not match, the system will not insert the record. When this occurs, the system displays an error that indicates the workspace already has a record, and that the import will not continue.
Now is the time to thoroughly map how the imported records tie to the existing data. If you need assistance, please log an Extranet case. It is much easier (and frankly less expensive) to request help in setting up an import than incorrectly importing records and then requesting help cleaning up the associated fallout. This topic provides an overview of the functionality for managing system imports.
To perform data imports, you must be a Global Admin or be in a role with the SYS_ImportManager security entity appropriately defined. For details, refer to Configuring import management for non-Global Admins.
To manage data imports:
- Go to System Admin
 > Imports > Manage Import.
The Manage Import dashboard opens. If you have never imported a file, the dashboard opens without any files in the list. When there are no files, your options are limited to Adding a file.

- Click Add.
The Upload File dialog opens.
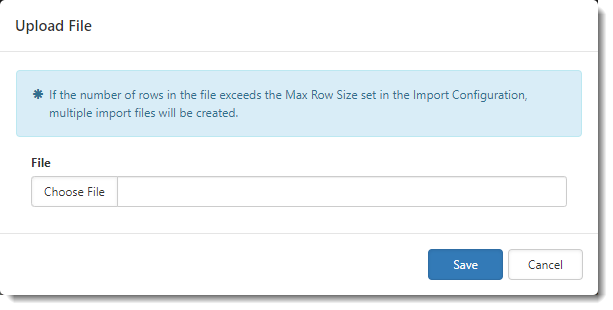
- Click Choose File to browse to a local or network drive and select a file.
- Click Save.
The file is listed in the dashboard grid area.
Note:
-
If you selected a file whose file name does not match one of the configured import mappings in your installation, the following error displays:
Please correct the following error(s): The file you are attempting to upload does not match a current Import Map Header and cannot be uploaded.
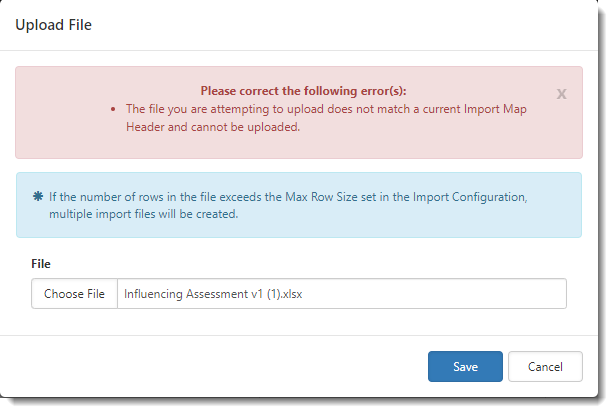
Log an Extranet case if you received this error and are not sure why.
-
If you are uploading a large file where the Max Row Size field has been set on the Import Map Header Detail window (System Admin
> Advanced > Configure Import) to split a single large file into smaller files to improve processing, a progress indicator may appear on your screen while the files are being created as shown in the example image below: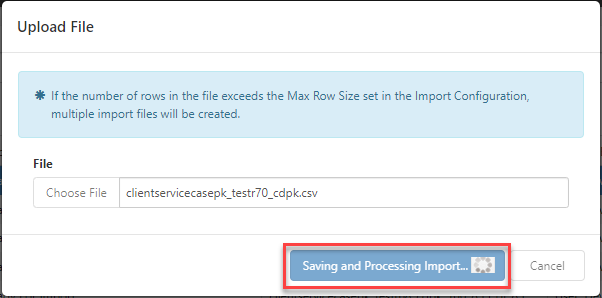
Once processing is complete, you will see multiple files listed. Each file will have "X of X" appended to the end of each file name to as shown in the example image below:
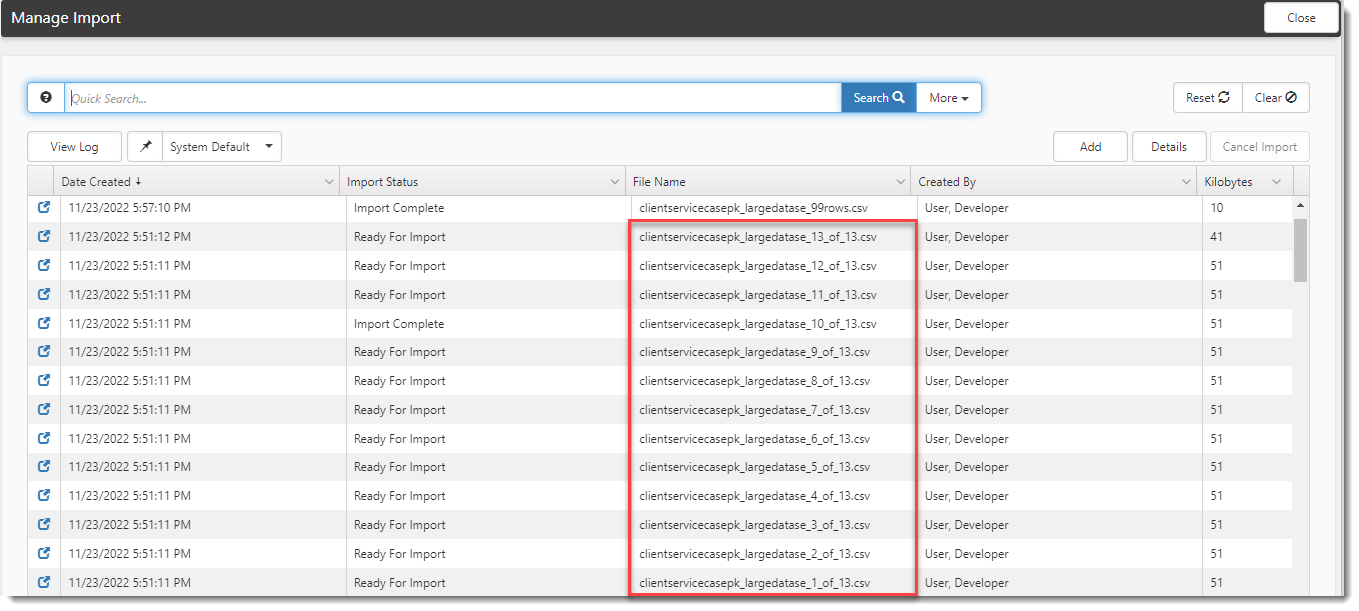
Note that each file is validated and run individually and separate log files containing any import errors will be created for each file.
See Configuring the Import Map Header and Managing Import Data.
- When a file (or files) has/have been properly added, Validate File becomes available.
Validation compares the file structure to a preexisting import configuration to ensure that the file has all the required columns. Additionally, high-level validation is performed to ensure that the data types match the field into which the data is imported.

Successful validation enables the Run Import function.

- With the record in Validate Complete status, click Run Import to begin the import process.
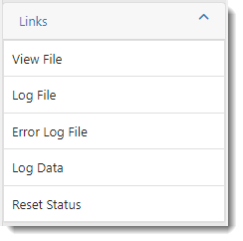
The action button reflects that the import process is Running. When complete, the action displays as Completed. - To review the success of your import or troubleshoot import issues, open the record and use the action item Links on the right: View File, Log File, Error Log File, Log Data, and Reset Status.
-
View File - Creates a download file in CSV format of your original import file in your Windows Downloads folder. The import file opens in Excel by default.
-
Log File - Creates a download LOG file (text file) showing the time stamp of when the import file processing began and ended. It lists both import failure errors and warnings by row number and lists a summary section of Rows Inserted, Rows Updated, Rows Skipped, and Rows Processed.
Log File errors include a detailed import failure reason:
EX: Error for Update Only Imports: Dataform Insert Not Allowed for data row [Row Number] [Import ID]: - This Import Map configuration only allows Updates, not Inserts of new records. No existing record was found based on the Record Source Column.
EX: Errors for Insert Only Imports:
-
Dataform Update Not Allowed for data row [Row Number] [Import ID]: - This Import Map configuration only allows Inserts. A record was found based on the Record Source Column and cannot be updated.
-
Dataform Saved Errors for data row [Row Number] [Import ID]: - This workspace already has a record saved for this dataform. Please reload the page and try again.
The Log File opens in Notepad by default.
-
-
Error Log - Creates a download file in CSV format of rows that did not import from the original file. It does not include warnings. The Error Log File option only displays in the Action Center when rows did not import from the original file.
Note: The error log file honors import map detail settings that determine whether an issue is logged as an import failure. For example, if you have the Allow Invalid Lookup Values option set on the Import Map Detail record of an imported lookup field, any records with invalid lookup values still import and will not appear in the Error Log. If Allow Invalid Lookup Values is not checked, the record does not import the import failure is logged in the Error Log File.
The Error Log file opens in Excel by default.
-
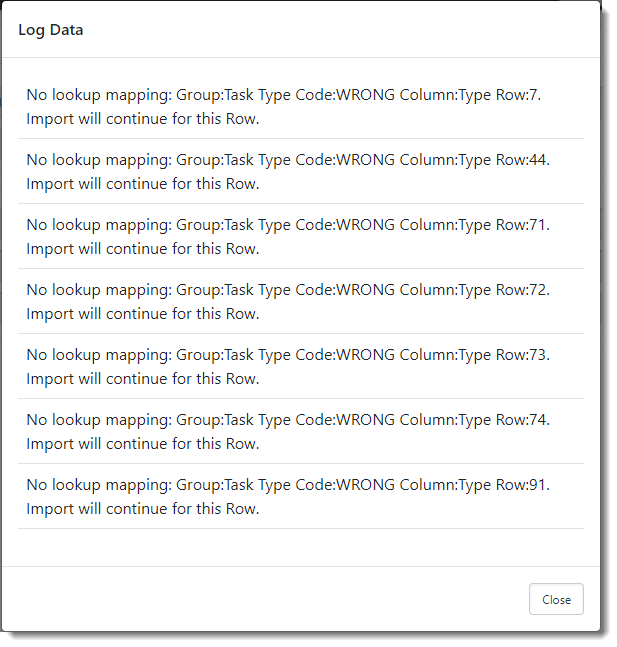
Log Data - Displays import failure errors and warnings by row number on your screen.
-
Reset Status - Sets the row status back to "Ready for Import" removes all previous log information. This is typically used when a row import fails and the reason for the import failure can be fixed. The next step is to click Reset Status to place the row back in "Ready for Import" status so that you can attempt to import the row again.
Note: Reset Status is only available to Developer and Global Administrator users.
- To view the log data for import errors:
| • | From the dashboard: Select the import record and then click View Log (located above the dashboard grid area). |
OR
| • | From the import record: On the dashboard, click |
The log data displays similar to the following:
- To view the error file for import errors:
| • | From the import record: On the dashboard, click |
This generates the error log file and saves it to your Windows Downloads folder as a .csv file. It includes the original row number from the import file. Error log file contents appear similar to the following:

Note: If you use the Business Intelligence module, you can create a report showing import metrics. View and/or schedule a report showing summary import metrics for multiple import processes in one report. The following information is included: : Processing File Name, Rows Inserted, Rows Updated, Rows Skipped, and Rows Processed. See Generating a BI Imports Report.
Review the data that you just imported for completeness. Navigate to the dataform in the workspace and verify your work. Confirm that you have the expected number of records and that the appropriate data appears in each of the imported fields.