Using Generative AI to Create Email Template Body Text
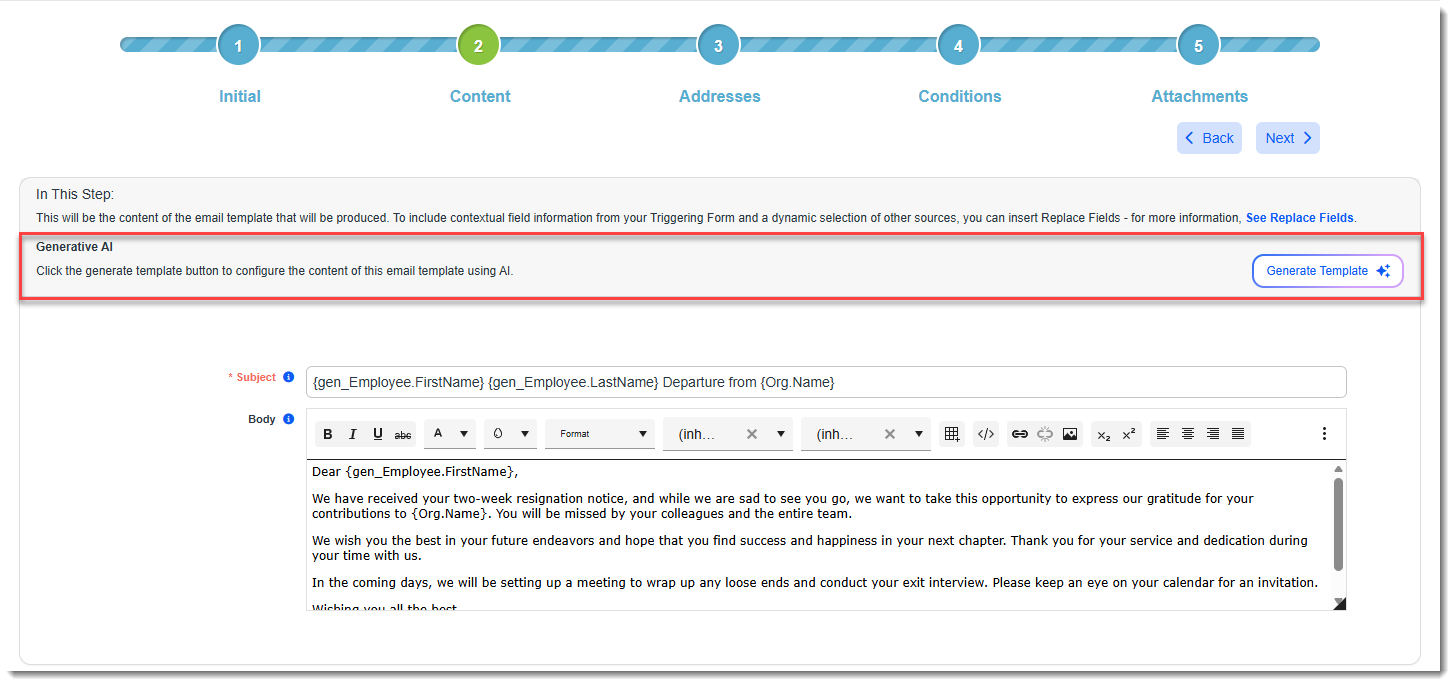
The Generative AI feature on the Content tab allows you to quickly generate the body text for your email template (with or without replacement fields from the See Replace Fields link) using AI.
Note:
-
Please contact your Professional Services team representative or log an extranet case if you are interested in this feature.
-
AI-generated responses are not moderated, reviewed, or endorsed by ClientSpace. Content may be inaccurate or incomplete and should be independently verified prior to use.
To configure the content of the email using the Generative AI tool:
-
In Subject, provide the subject of the email to be generated.
-
Click the Generate Template button.
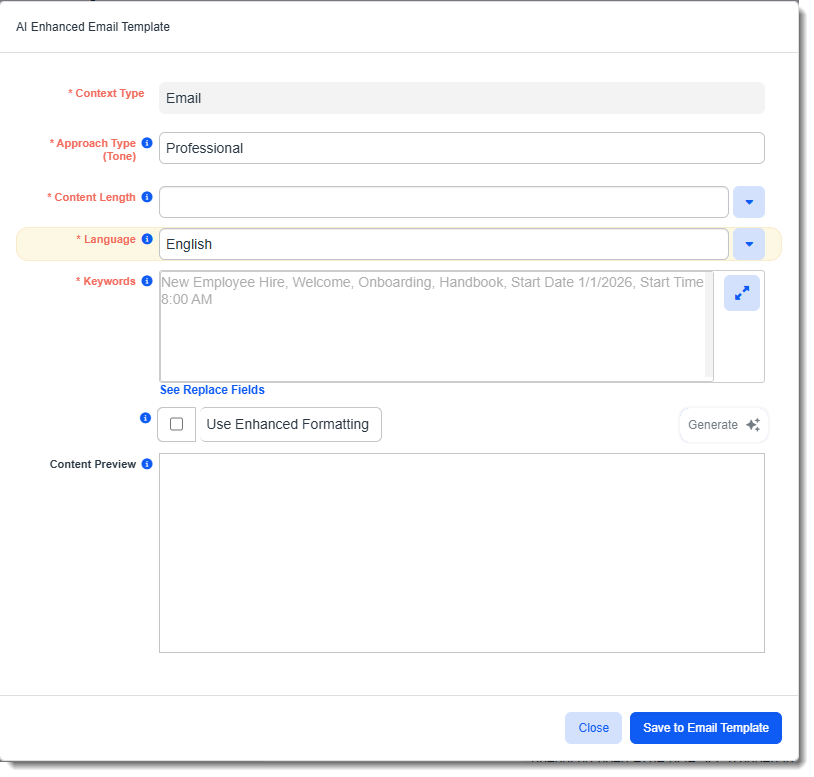
The AI Enhanced Email Template window displays.
-
Complete the following fields:
Approach Type (Tone)
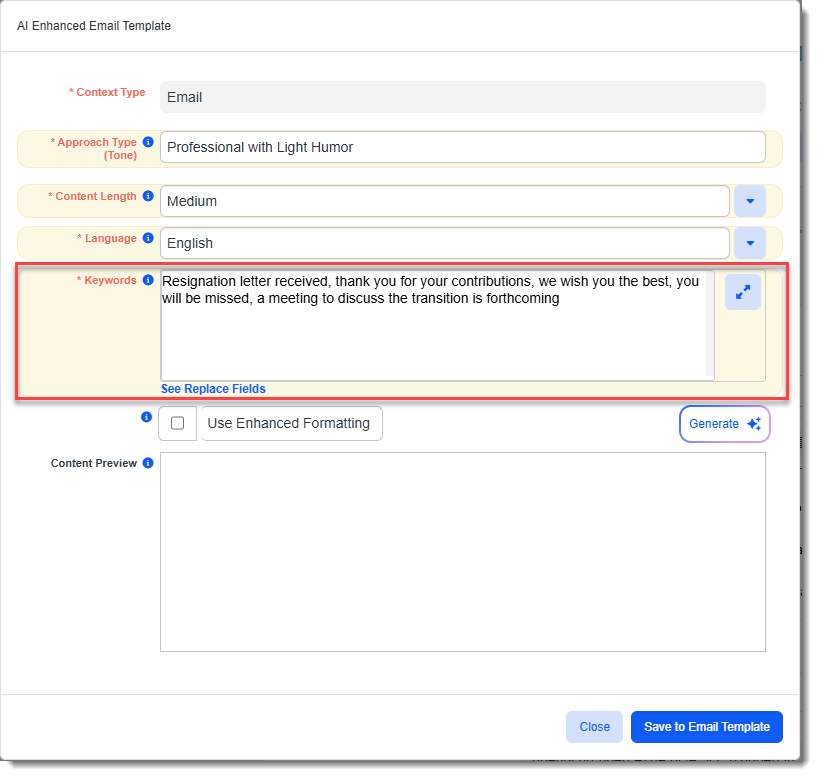
Required. This is a free text field that used to set the tone of the email. The default setting is Professional but you can try other options such as "Professional Friendly" for a professional but warm tone or "Feedback" to deliver a message optimized for conveying feedback. You might also try "Formal", "Casual", "Professional with Light Humor", etc.
Content Length
Required. Select the desired content length from the drop-down list. Valid options include:
-
Short - One to three sentences.
-
Medium - One to two paragraphs.
-
Long - Three or more paragraphs.
Language
Required. The Language of the generated output defaults to English. Other valid options include:
-
Spanish
-
French
-
Portuguese
Keywords
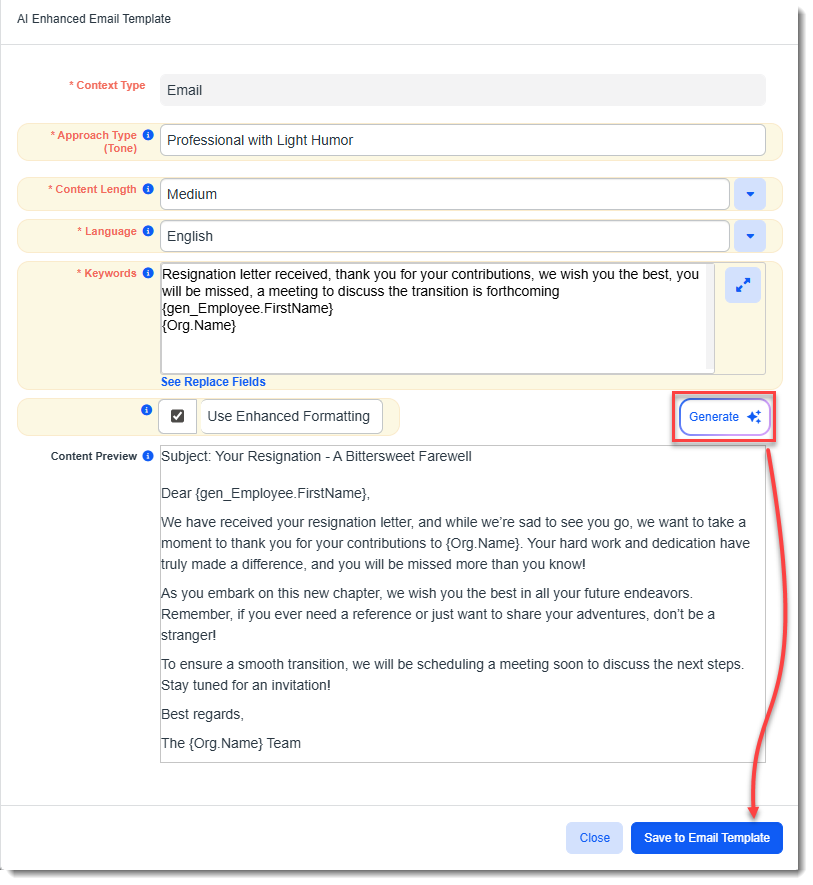
Required. Enter keywords or phrases (with a comma between each keyword or phrase) as prompts to define the output that will be generated. For example, to confirm receipt of a resignation letter and inform the employee that a meeting to discuss the transition phase will be scheduled, you might include key phrases such as:
Resignation letter received, thank you for your contributions, we wish you the best, you will be missed, a meeting to discuss the transition is forthcoming.
See Replace Fields
Click the See Replace Fields link if you also want to include replacement fields in the Keywords field.
Available replacement fields include:
- Any active fields on the triggering dataform
- The active fields from the tabbed dataforms related to the triggering form (any child forms of the parent dataform)
- When you select Task as the Triggering Form in Step 1 Initial, Task fields are available for field replacement
- The active fields from the related Organization and Org Other Info
- Any fields returned by the Server Data Procs related to the triggering dataform
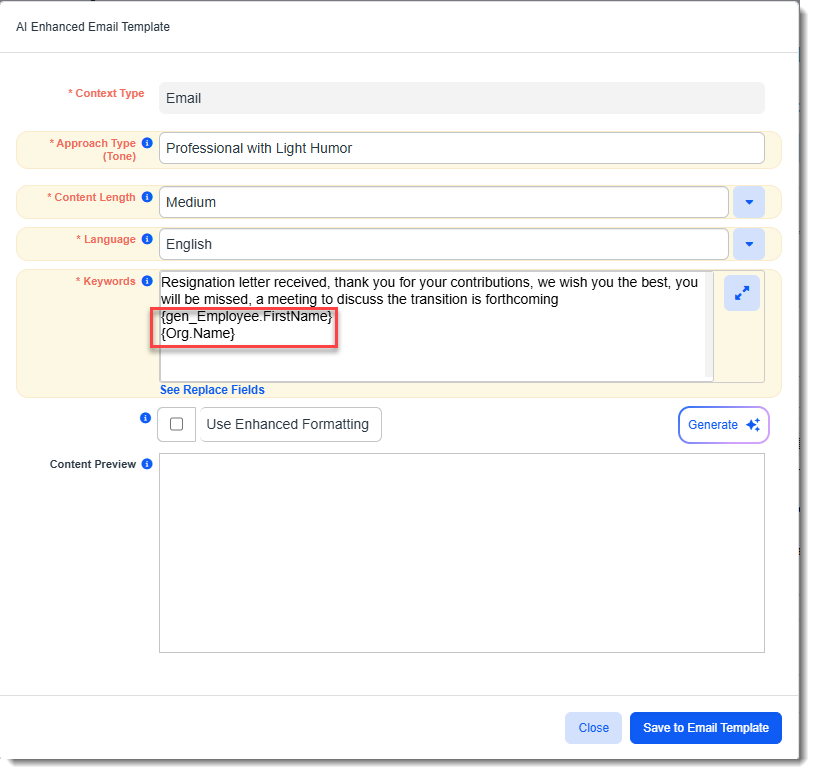
When you click the See Replace Fields link, the Replace Fields window displays. Select the replacement fields you want the Generative AI tool to include in the body text and click Copy to apply your selections.

The selected replace fields are inserted beneath any keywords you entered.
Note: If you do not use any replace fields and the keyword prompts you used lead the Generative AI tool to generate output with form-letter style personalization such as a recipient's name, sender's name, sender's title or department, etc., the generated output may contain placeholders in square brackets [ ] for the missing data as shown in the example below:
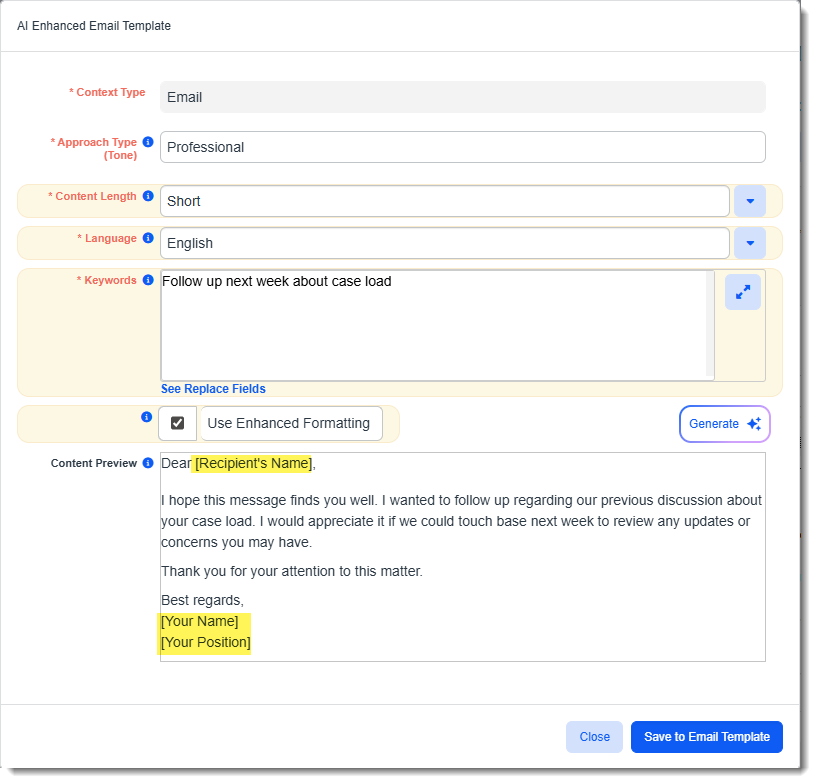
Placeholder fields are not the same as replace fields. Replace fields display in curly brackets { }. If you do not substitute relevant data or a replace field for the placeholder text, the output will be sent to recipients with placeholders displayed.
Use Enhanced Formatting
Select Use Enhanced Formatting to allow the tool to enhance the appearance of your email body text with formatting such as Italics, bold, custom spacing and more.
Note: Once you save the content to the Body field, you will be able to edit the formatting since the Body field on the Content tab uses a rich text editor and supports font styling, embedded images, hyperlinks, lists, and tables.
-
-
Click Generate.
The generated output displays in the Content Preview pane.
Note: You cannot edit the content here. Once you save the content to the Body field, you can apply edits.
-
What do you want to do?
-
If you are satisfied with the generated output: Click Save to Email Template to apply the content to the Body field of the Email Template Content tab.
Note: If there is already content in the field, a confirmation message will display asking you if you want to overwrite the existing content. Click Yes if you want to continue.
-
If you are not satisfied with the generated output: Click Generate again to view new output using the same prompts or edit prompts such as Approach Type (Tone), Content Length, Keywords or Replace Fields before clicking Generate.
-
-
Once you have successfully saved AI-generated content to the Body field, make any necessary formatting changes or other changes and then click Next to proceed to Step 3: Addresses.