Installing from Outlook Online Using a URL or File
This topic describes how to configure the ClientSpace for Outlook email add-in from Outlook Online using a URL to the manifest file location or by downloading the manifest file and browsing to it on your computer.
Installing the Email Add-In for Outlook from Outlook Online Using a URL Link or File
To install from Outlook Online:
-
Go to the Outlook Online Add-Ins for Outlook Page. You can use this link as a shortcut: https://aka.ms/olksideload.
The Add-Ins for Outlook page opens.
-
On the left pane, click My add-ins.
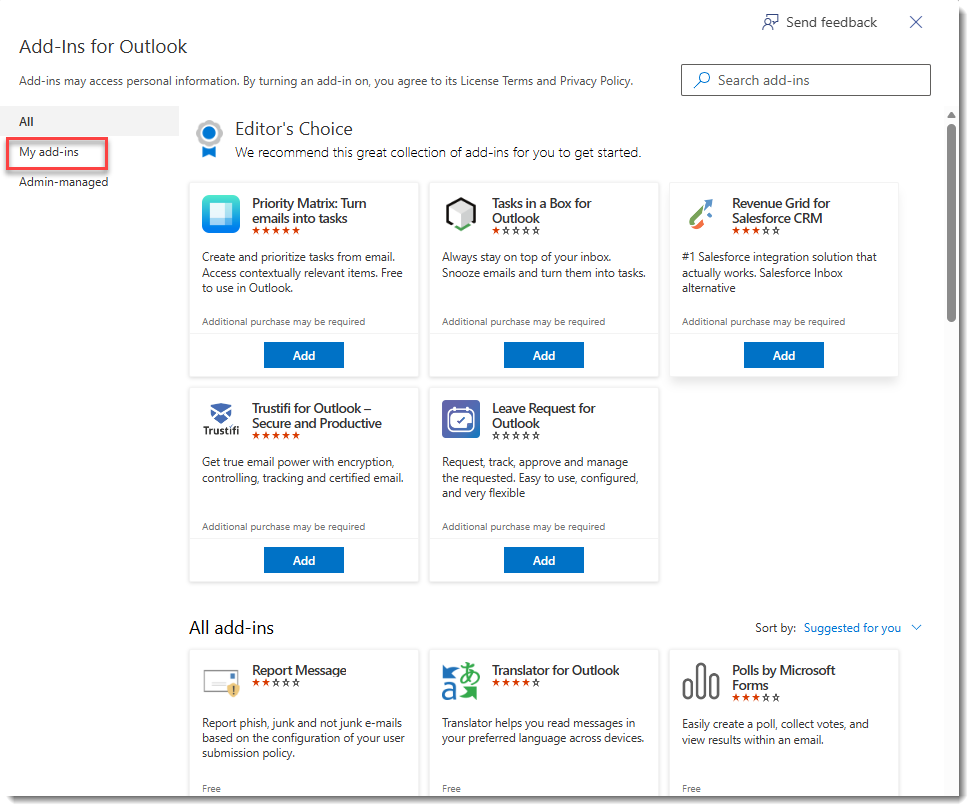
The My add-ins tab displays.
-
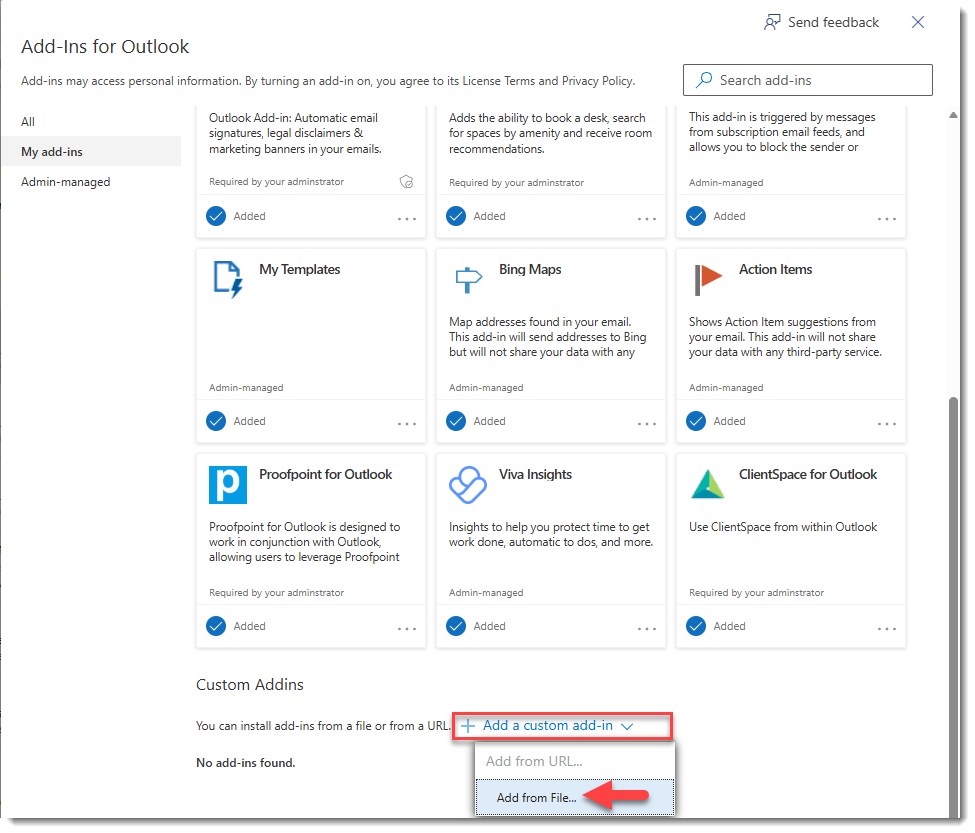
Scroll to the bottom the page and select Add a custom add-in.
-
Then select Add from URL... or Add from File... based on your organization's security policies. In the example image below, Add from URL... is not permitted so we selected Add From File...
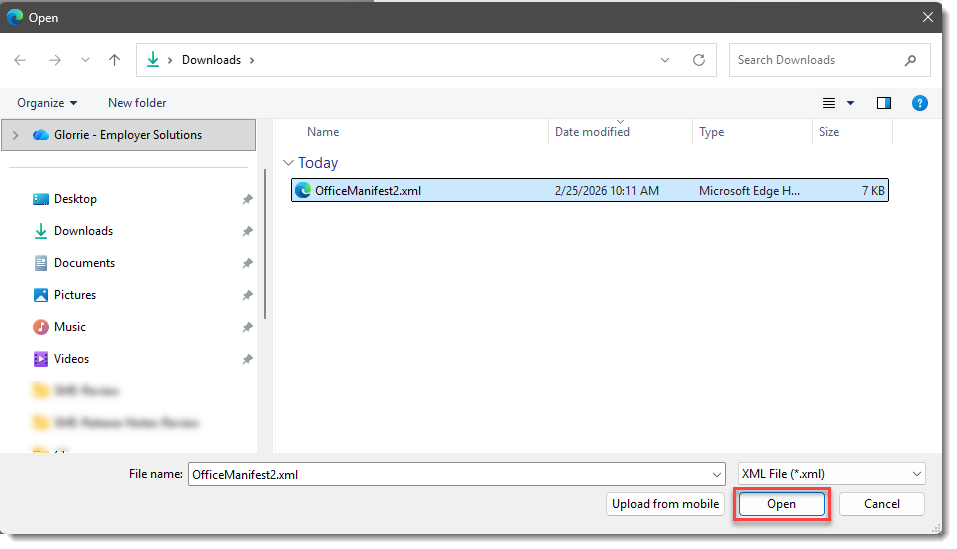
Note: If you plan to use the Add From File... option, a prerequisite step is to download the file so that you can browse to it on your computer. To do this, go to the following location and then use Ctrl+ S to save the file as OfficeManifest2.xml:
https://shared.clientspace.net/Content/Manifest/OfficeManifest2.xml.-
If you selected Add from File...: Select the manifest file on your computer and click Open
-
If you selected Add from URL...: Type or paste the following URL:
https://shared.clientspace.net/Content/Manifest/OfficeManifest2.xml
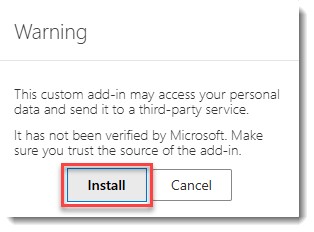
A warning message displays with an Install button below the message:
-
-
Click Install.
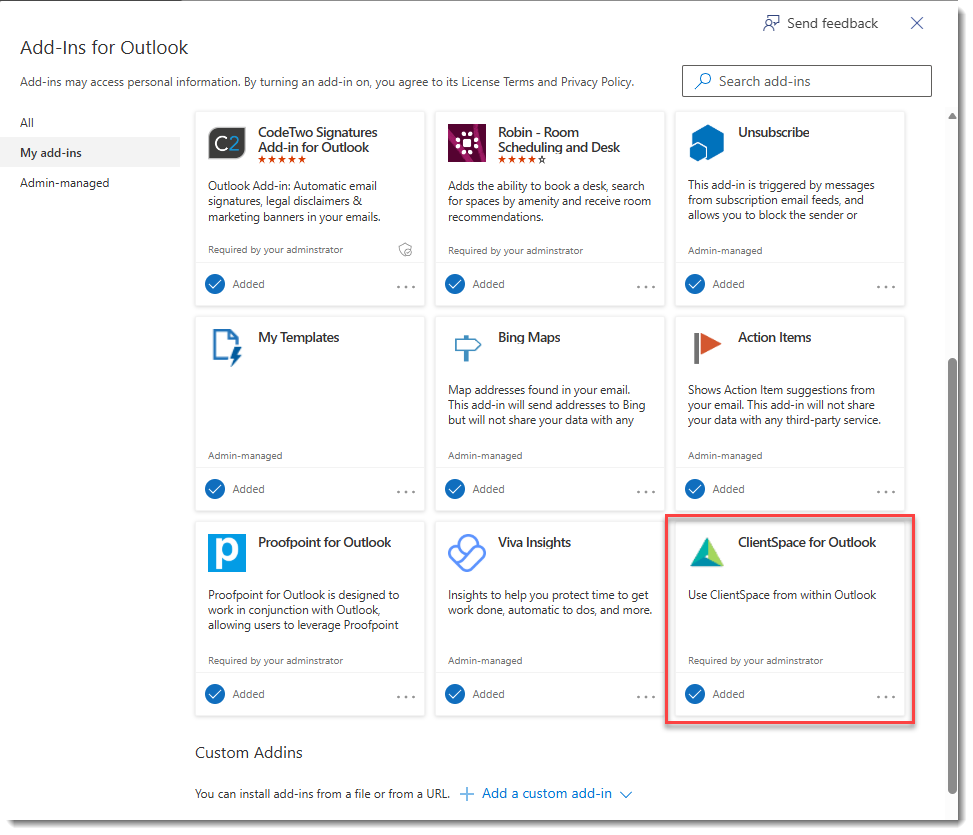
A progress window may briefly display. Once the install is complete, the ClientSpace for Outlook tile displays on the My add-ins tab of the Add-Ins for Outlook page:
Note: If the ClientSpace for Outlook Add-In tile is not shown, you may also need to restart the computer or wait a short time for the ClientSpace for Outlook Add-In tile to appear.
For the procedure on how to create activities, cases, and tasks from the Post To ClientSpace page, see Creating Activities, Cases, Tasks, and Claim Notes from Outlook.