Widget: Query (XSLT)
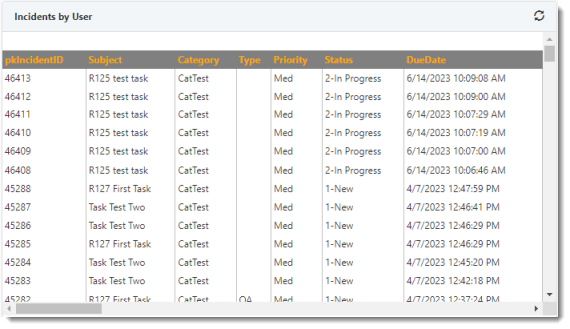
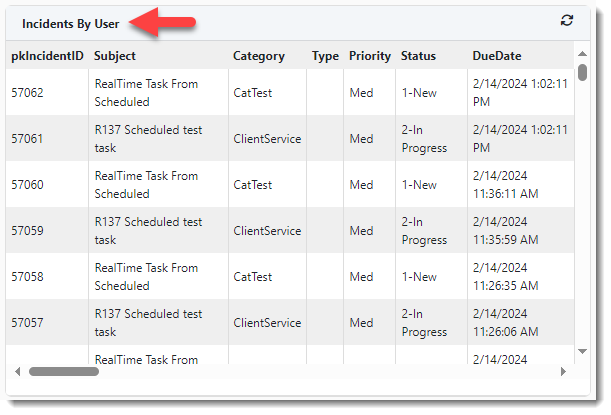
The Query Widget displays a table containing ClientSpace query results from a selected stored procedure in the following locations:
-
Home page
-
Workspace landing page
-
Dataform header
Optionally, upload an XSLT file containing custom table styles in the Widget Settings. (If no XSLT file is uploaded, the default ClientSpace table styles are used.)
A Refresh ![]() button in the Query Widget title bar allows you to refresh the widget to see the latest updates.
button in the Query Widget title bar allows you to refresh the widget to see the latest updates.
To configure the Query Widget:
-
Go to System Admin
 > Widget Layouts.
 -
Add a new widget layout or click
 (Open) next to an existing layout in the grid to edit the widget layout.
 -
On the Widget Layout Details window, click the Add Widgets button.
The Widget Library window displays.
-
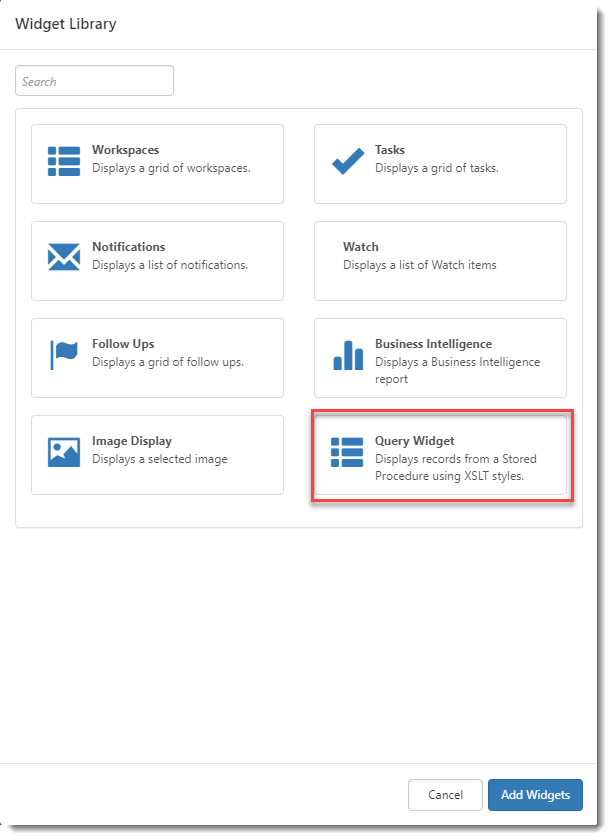
Click Query Widget and then click Add Widgets as shown in the example screen below:
The Widget Library window closes. A Query Widget control displays on the Widget Layout Details screen.
-
Click the Settings
 button on the Query Widget control.
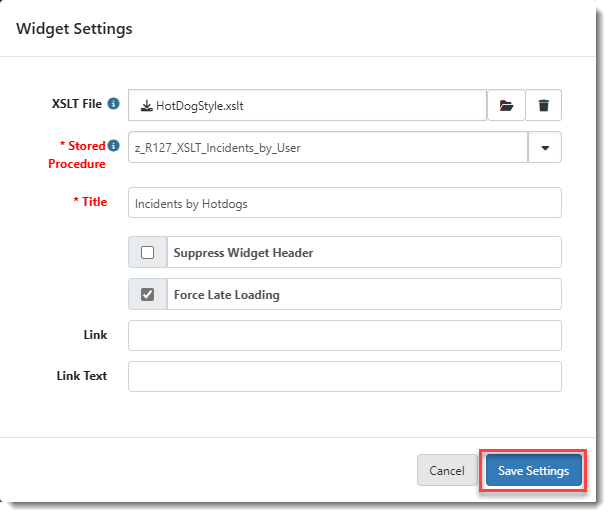
The Widget Settings window displays.
-
Complete the following fields as applicable.
XSLT File
Optionally, upload an XSLT file containing custom table style settings. If you do not upload a file, ClientSpace default table style settings are used.
Stored Procedure
Select a stored procedure for the widget data.
Note: The stored procedures used to populate the list are in the Stored Procedure Register and have a type of Query Widget.
Title
Type a widget title. The title displays in the top left corner of the table header.
Suppress Widget Header
Select this option to keep the widget header from displaying.
Force Late Loading
When this setting is applied, a dataform with XSLT widgets will finish loading even if the XSLT widgets on the page have not finished loading. Placeholders for the XSLT widgets will be visible on the dataform while the widgets continue to load.
Link
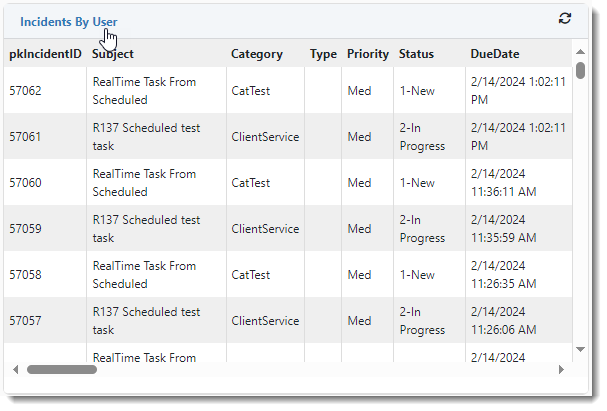
Enter a website address as a fully qualified hyperlink (for example ,https://www.google.com instead of www.google.com) to convert the Link Text or Title (if no Link Text is entered) into a hyperlink. Once the Link is entered, the Link Text or Title turns blue and it becomes an active hyperlink on associated Home pages, workspace landing pages, or dataform headers and opens the specified site in a separate browser window when clicked.
Note: You must enter Link Text or a Title to create a hyperlink. If you enter Link Text, the system uses it as the hyperlink text, overriding any Title field value that may be present. If you do not enter Link Text, the system uses any Title field value that may be present. If both Link Text and Title fields are blank, no hyperlink is created.
Link Text
If you entered a Link (see above), enter the hyperlink text you want to use here. If you prefer to use the Title text as the hyperlink text, you may leave this field blank.
-
Click Save Settings.
The Widget Settings window closes and you are returned to the Widget Layout Details window.
-
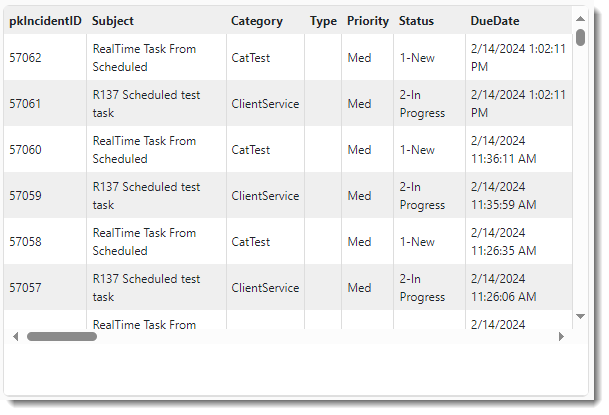
Drag the bottom right corner of the widget control to the desired dimensions. (The table widget has horizontal and vertical scroll bars to allow users to view rows and columns that do not fit within the frame dimensions.)
-
Click Save.
-
Test the widget in the selected display location (i.e., on a Home page, a workspace landing, or a dataform header.)
Note: Error handling is built into the Query widget. If there is an issue with the widget settings that prevents the widget from rendering, the error details are displayed in the widget frame as shown in the example image below:
