Configuring the Client Team widget
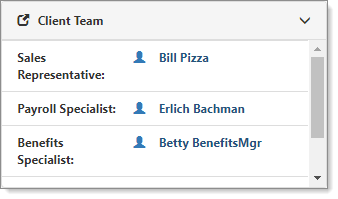
The ClientSpace workspace landing page is the central hub for Client data. This is the home of the configurable Client Team widget and it allows up to 10 Client Team members to be displayed. By default, it shows 4.
The header of the Client Team widget contains a header bar with a link to jump to the Client Team dataform as well as an expansion control that allows the panel to show more team members. Configuring the widget involves configuring the Client Team Role lookup value and associated metadata.
To configure the Client Team widget:
- Go to System Admin
 > Advanced > Dataform Admin.
The Dataform Admin dashboard opens. We will select a Client Team field to display on the workspace landing page widget. Alternatively, you can add a new Client Team member by adding a new user field to the dataform. Our examples use Snack Manager, which has already been added.
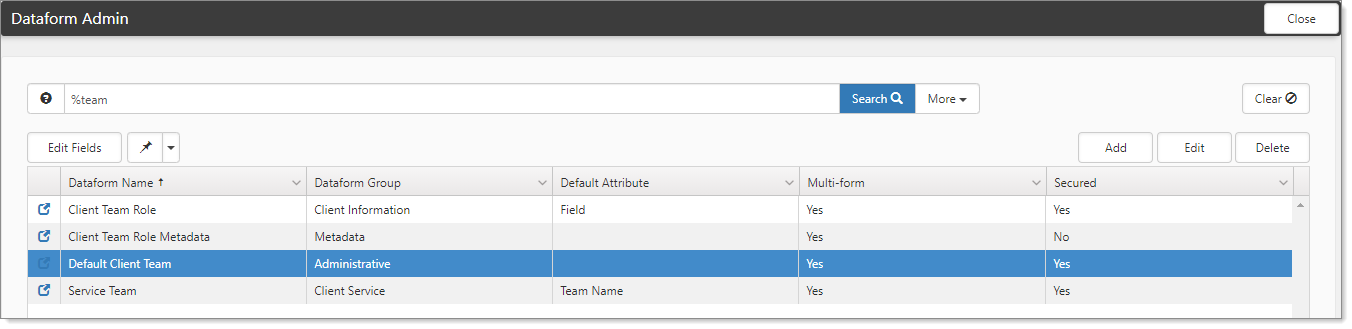
- Open the Team dataform and in the Action Center, click Fields.
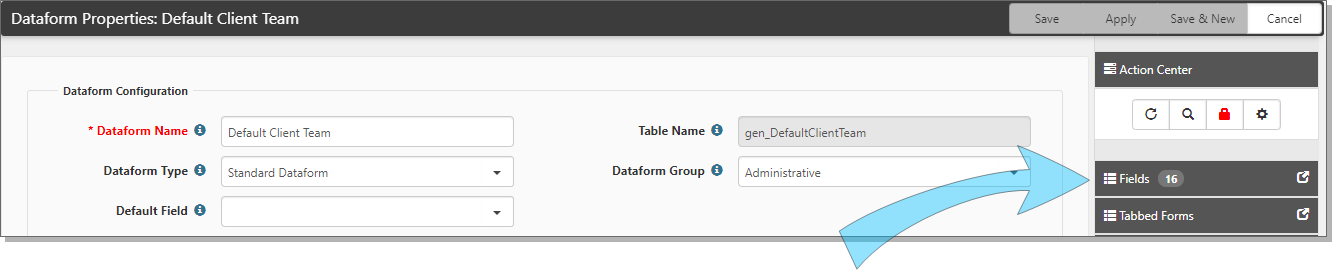
The list of fields displays.
- Select a field and click
 (Open).

Our example uses Snack Manager.
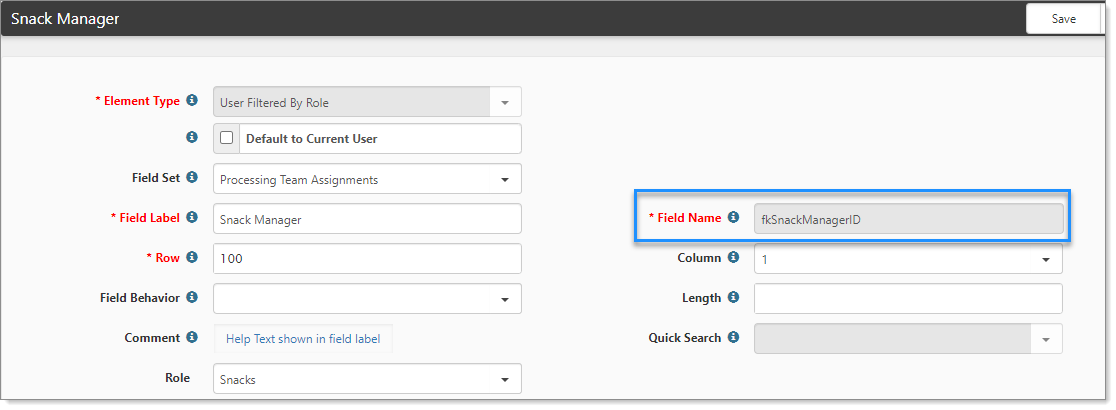
- Copy the field name.
Our example shows the field as fkSnackManagerID. - Go to System Admin > Lookups.
The Lookups dashboard opens. - Filter the list to match your selection. Our example uses Client Team Roles, fkSnackManagerId.
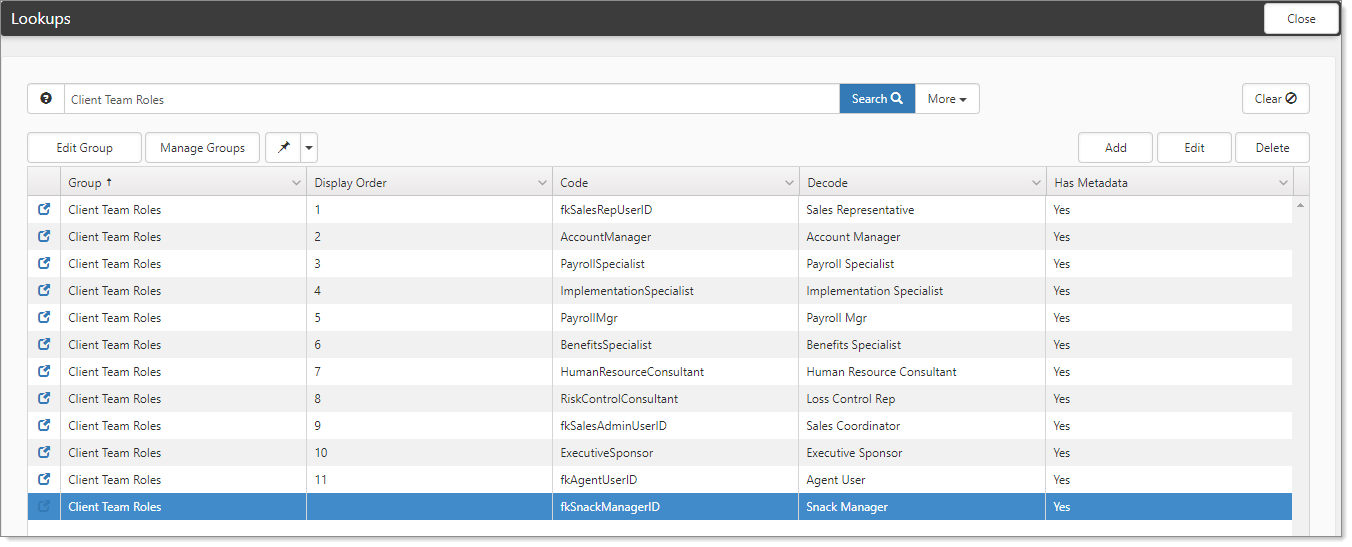
- Open the record.
The Lookup Details opens. - Find the corresponding Client Team Field lookup (or create a new one) making sure to paste the field name you copied in the last step as the Code value. Our example uses Code as fkSnackManagerID and Decode as Snack Manager.
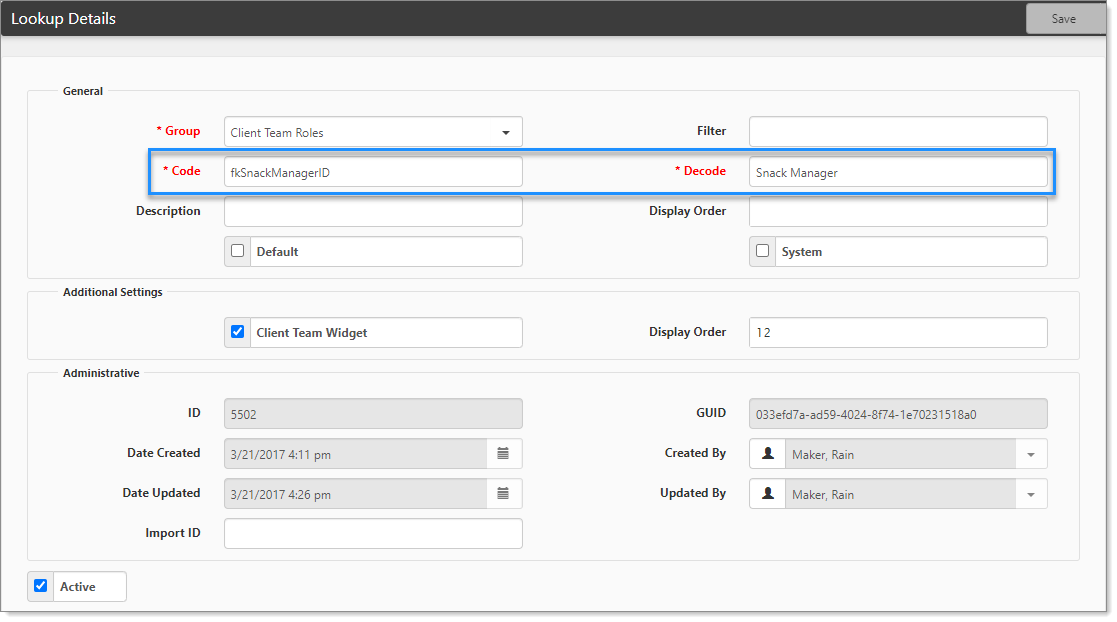
- In Additional Settings, apply any lookup changes and display order (up to 10 Client Team fields).

- Save your changes and refresh the Client Team dataform.