Configuring BI Reporting Widgets
Report widgets require additional configuration when creating a BI Dashboard. Any part of a report can be added to a widget, including Charts.
From a BI report:
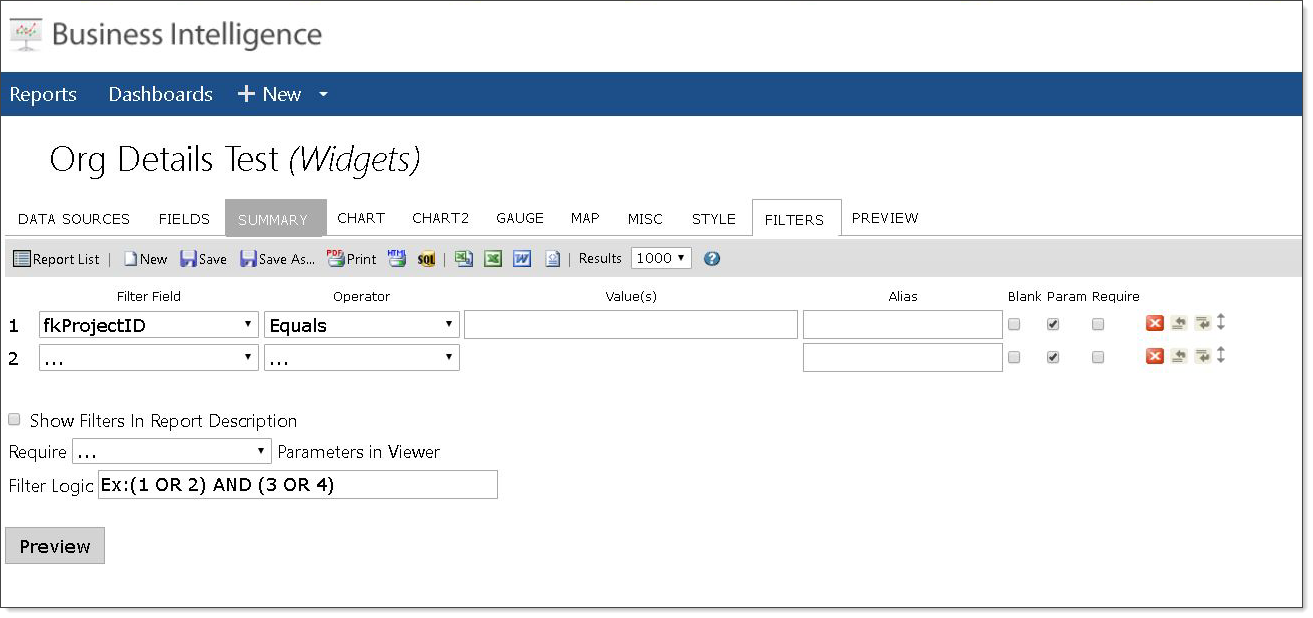
- When configuring a BI report inside a BI Widget, to filter on #currentworkspace,
- In Filter Field, add the fkprojectID from the client master.
- In Operator, select Equals .
- Leave Value blank.
- Leave the Parameter selected.
To configure a BI report widget:
- From the Widget Layout Details form, click Settings.
The Widget Settings form opens.

- Complete the fields:
| Report |
Select the report to be used in your widget.
These widgets adhere to report security as well as report filters, such as fkprojectid or pkorganizationid equals blank. The widget fills in this filter when the report runs using its own Current Workspace filter logic. There is no need to add a value into the report filter in BI. NOTE: if you try to add a value, such as #currentworkspace into the BI report filter, it will not work in the widget.
BI System Administrators and Global Admins can see the report filters. |
| Filter |
Select Current Workspace. |
| Type | Select the report part you would like to include such as Chart, Summary, or Detail. |
| Suppress Report Header | When enabled (selected), the report header does not display. Default setting is disabled (cleared). |
|
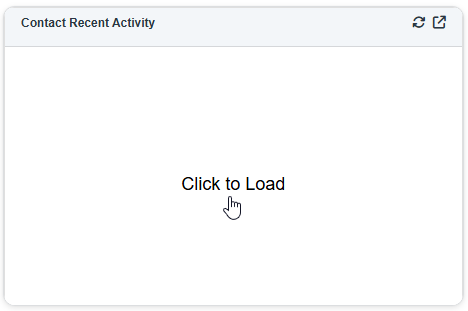
Run On Demand |
When this setting is applied to a BI report widget, it does not load automatically. It is triggered by a "Click to Load" link in the center of the widget frame.
Use this setting to prevent specific BI Report widget(s) from attempting to load at once on Widget layouts containing a lot of BI Report widgets. This can improve performance by reducing page load times. |
|
Link |
Enter a website address as a fully qualified hyperlink (for example ,https://www.google.com instead of www.google.com) to convert the Link Text(see below) into a hyperlink. Once the Link is entered, the Link Text turns blue and it becomes an active hyperlink on associated Home pages, workspace landing pages, or dataform headers and opens the specified site in a separate browser window when clicked.
Note: You must enter Link Text to create a hyperlink. If either Link or Link Text is blank, no hyperlink is created. |
|
Link Text |
If you entered a Link (see above), enter the hyperlink text you want to use here. |
- When you have completed your configuration, click Save Settings.
If you have any questions, please submit an Extranet service ticket to ClientSpace.