Inviting attendees
The Attendees selector is where you add invitees to the calendar, as well as track the status of the invite.
To add or remove invitees:
- From an open appointment, expand Attendees.
The badge counter displays the number of current calendar event invitees. Any attendees that have already been selected are displayed in the Attendees panel. The status of the invitation is also noted: Accepted, Tentative, Declined. - You can also control the attendee status from here:
| • |
|
| • |
|
| • |
|
| • |
|
- Click Select.
The Select Attendees list is displayed. The list is filtered based on the Include Contacts FromWorkspace name. The selected workspace filters available users on this list. - Select a user from the list and select the Select option. Alternatively, double-click the entry. You can sort the list.
- Click Ok to add the attendees to the event.
The newly selected user is now displayed in the Attendees list. - Click Apply.
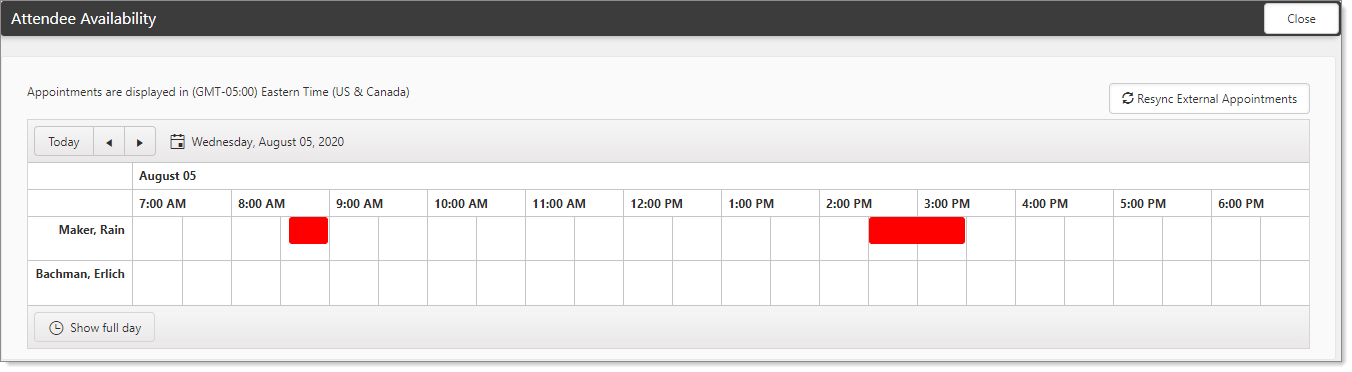
After you have selected your attendees, you can get a snapshot of their calendar availability using View in the Attendees panel of the calendar detail.
To view attendee availability:
- Expand the Attendees panel and click View.
The Attendee Availability calendar displays.
|
Resync External Appointments |
Resync the calendar appointments for all selected attendees. |
||||||
|
Date |
Displays the date of the calendar event. Click to display the date picker and change the calendar date. |
||||||
|
Availability list |
Displays an overview of the attendee's other calendar events for that day.
|
||||||
|
Show full day / Show business hours |
Click to toggle the view. Changes the availability view to include or exclude non-business days and hours. |
- Click Close when ready.