Now you are ready to send your document to DocuSign. However, before you send, let's check to see if the required scheduled processes are active.
Are the scheduled processes active?
The following scheduled processes must be active before you send the document:
- DocuSign Get Docs Status
- DocuSign Request Signature
Active entries are available when you view the Schedule Process Admin list. Additionally, review the schedule for these processes to determine if the frequency is appropriate.

To review the scheduled process status:
- Go to System Admin
 > Advanced > Scheduled Processes.
The Scheduled Processes Admin dashboard opens. - If the processes are not listed, open More, select All, and click Search.
The list displays active and archived entries. Archived entries are bold and italicized. - If the processes are NOT active, please log an Extranet case for assistance.
To review the schedule:
- Go to System Admin > Advanced > Scheduled Processes.
The Scheduled Processes Admin dashboard opens. - Open the entry (click
 Jump).
The form opens. - Review the Frequency, Frequency Type, and Valid Days.
- For any changes, please log an Extranet case for assistance.
You might want to consider setting:
- DocuSign Request Signature to run every 1 minute.
- DocuSign Get Docs Status to run every 5 minutes.
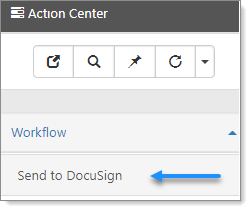
Send to DocuSign
After you have confirmed that the scheduled processes are active, you are ready to send the document.
To send to DocuSign:
- From the Client Master, in the Action Center > Workflow, click Send to DocuSign.
- Next, you are ready to monitor the Uploaded Files Queue to see the documents that were sent and their status. Go to Viewing and Managing Document Statuses in the DocuSign Process.