Configuring the CCMSI connection
The following procedure guides you through configuring the CCMSI connection. First, configure the connection. Then, activate the CCMSI links for the Comp Claim dataform: CCMSI Location Number, CCMSI Member Number, CCMSI Initial Report, and Submit to CCMSI.
To configure the API:
- Go to System Admin
 > Advanced > API Configuration.
The API Configuration dashboard opens. - Highlight the row for CCMSIAPI and double-click or click
 (Open).
The CCMSIAPI API Configuration form opens.
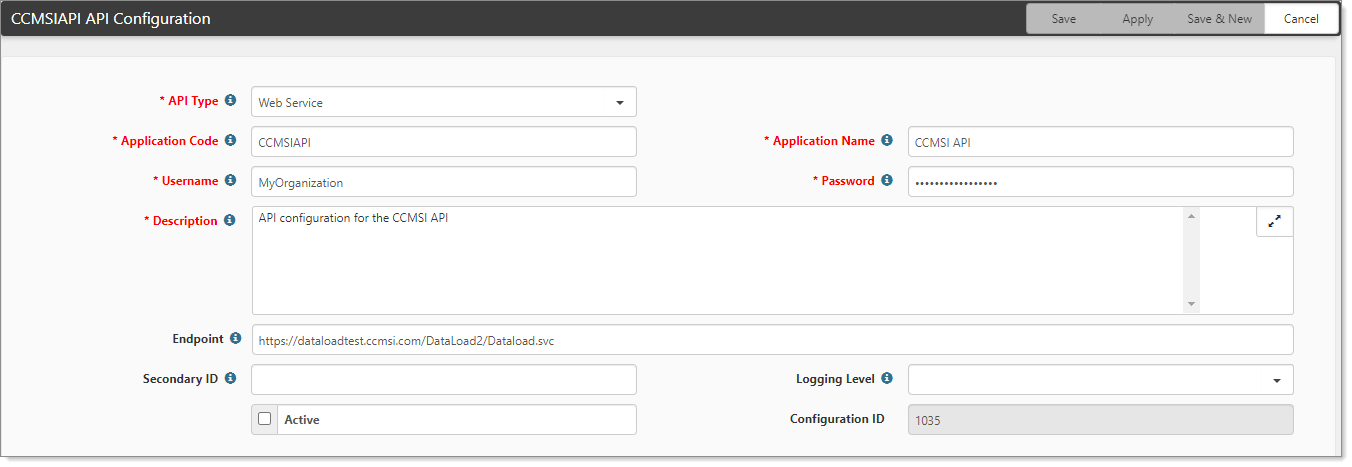
- Complete the following fields:
|
Username |
The organization CCMSI username. |
|
Password |
The organization CCMSI password. |
|
Endpoint |
The URL that points to the API services for your organization. This is specific to each client. |
|
Secondary ID |
The organization CCMSI member number. This is the client identifier, which is part of the authenticator object – the Username and Password, specific to each client, is related to the Secondary ID. |
- Click Save.
To activate the links:
- Go to System Admin > Advanced > Custom Links.
The API Configuration dashboard opens. - Filter the list to search for CCMSI, using %CCMSI.
The filtered list displays showing four entries. From here, open an entry and activate the link.
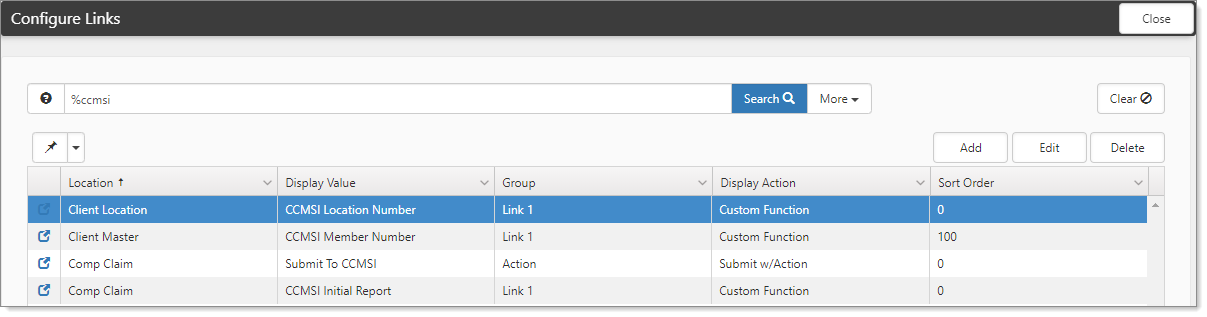
- For each entry, open and select the Active option.

- Click Save.
To confirm the business rule SubmitClaimToCCMSI is active:
-
Go to System Admin > Advanced > Manage Business Rules.
The Custom Logic Rules dashboard opens. - Search for SubmitClaimToCCMSI and open the rule.
The Rule Details form opens. - Select the Active option (if not already selected), and click Save.