Configuring Custom Help Links
What Are Help Links?
Anywhere you see a white circle with a question mark ![]() , it indicates the availability of Help.
, it indicates the availability of Help.
| • | When accessed from the Work Center, ClientSpace Help Center opens. |
| • | When accessed from a dataform, it opens a list of Help links that are specific to the form from which they are accessed. |
You can also use the general search function located at the top of the list of links if the topic you need is not listed.
Pre-set links can take the form of:
-
Help topics
-
Videos
-
Call outs
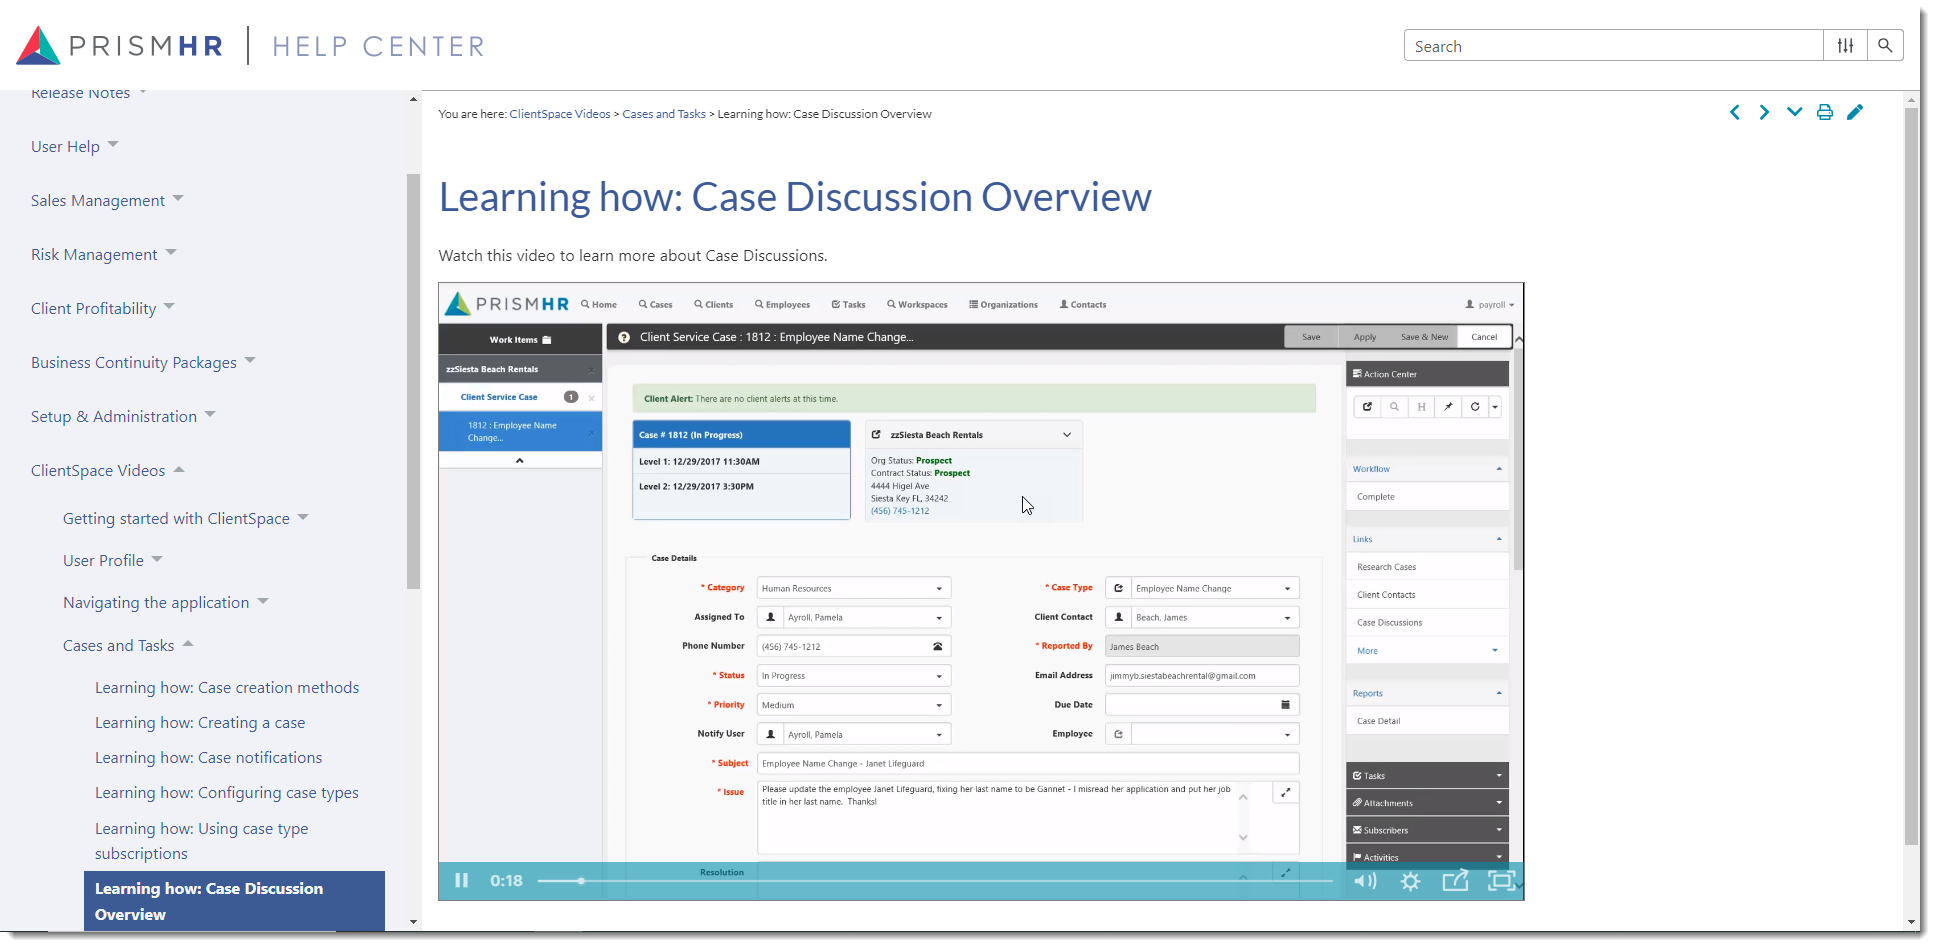
When you click a link, topics and videos display in the ClientSpace Help Center on a separate tab of your browser:
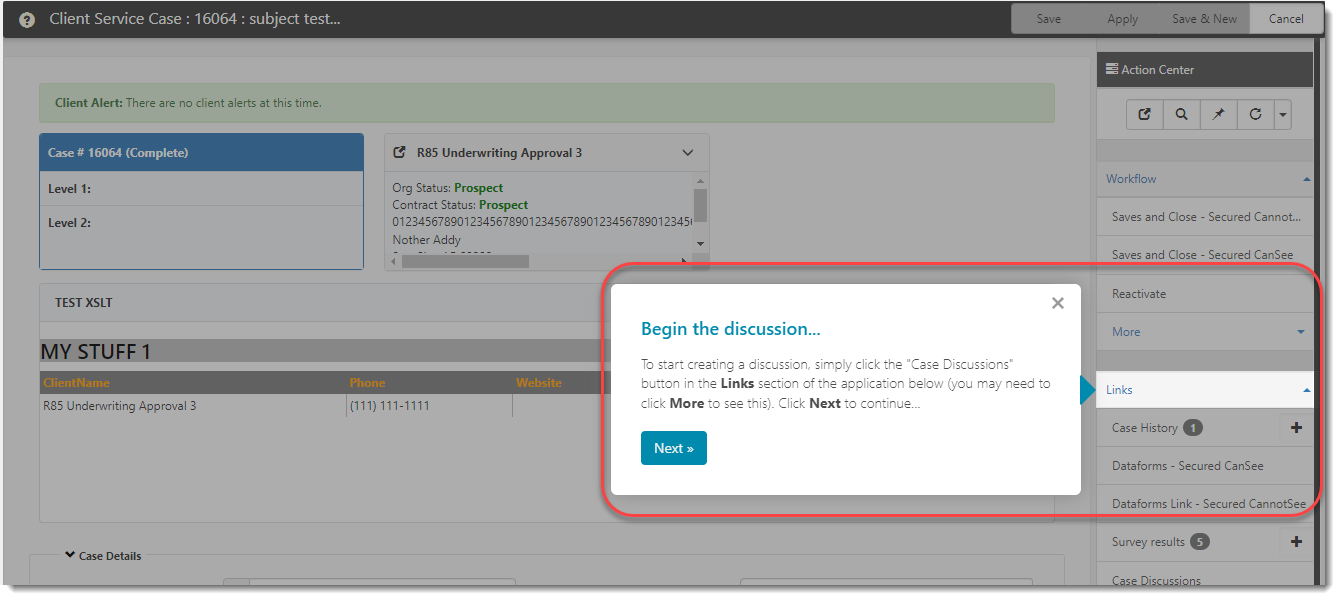
If the link is to a callout, it displays on the dataform you are viewing. These are typically used to describe how a single field is used. The field being "called out" is highlighted while the other dataform fields are temporarily dimmed and inaccessible until you close the box:
What Are Custom Help Links?
Help links can be a combination of preset Help links that were already configured for you in ClientSpace when it was installed and custom Help links that you define. You must be a Global Administrator to configure custom Help links. The custom Help link can be a URL to an article, video, or guide.
When you configure the custom Help link, you can apply settings such as when you want the link to become available, an "expiration date" for a link (if applicable) and which department(s) have access to the link.
Configuring Custom Help Links
To configure custom help links:
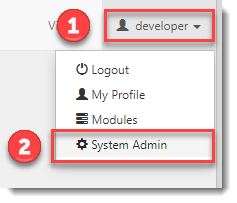
| 1. | Click your username in the top right corner of the ClientSpace window. EX: developer |
| 2. | Click System Admin |

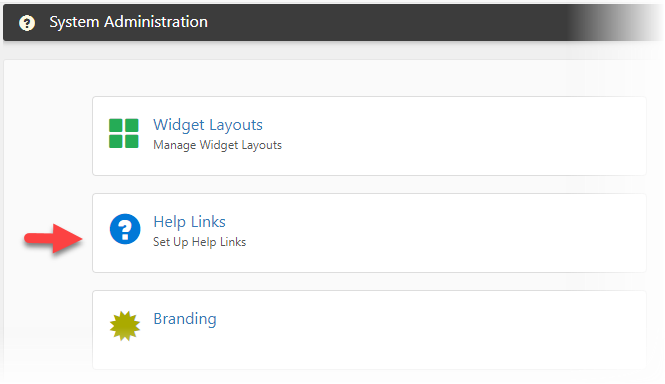
The System Administration dashboard opens.
| 3. | Click Help Links. |
The dashboard/search view for all Help links in the ClientSpace system displays.
Note: You can also access Help Links from Dataform Administration by clicking the Help Links link in the Action Center of Dataform Properties. This typically takes you to a filtered search view showing the Help Links associated with the current dataform (unless you have an overriding Saved Search on the Help Links dashboard). For more details, see Viewing Action Center Links on Dataforms.
| 4. | Click Add to add a new Help Link. |
| 5. | Complete the fields as appropriate. Required fields display in red text, preceded by an asterisk. |
| Target Type | Select the form (i.e., Case History, Client Master, etc.) where you want the link to display from the drop down list. |
| Sort Order |
Prioritize where the item displays in the list of other Help links. The higher the number, the lower it is on the list. Note: Leave the field set to 0 to sort in alphabetical order. |
| Link Text | Type the name of the Help link. This is what displays in the list of Help links. |
| Detail | Type the URL of the link. |
| Type | Select the type of Help link: Article, Video, or Guide. |
|
Category |
Unused field. |
|
Publish Date |
The date you want the Help link to begin displaying. By default, the field auto-fills when the current date and time but you can edit the field. |
|
Expiration Date |
The date you want the Help link to stop displaying. The link will not be visible on or after the date you enter. Leave the field blank if the link should never expire. |
|
Active |
By default, the Active checkbox is checked. Remove the check mark to make the Help link InActive. InActive links are no longer displayed in the list of Help links. |
|
Department(s) |
To restrict which users see the Help link, click in the field to display the list of departments and select a department. To select multiple departments, repeat the action of clicking in the field and selecting a department until all desired selections are displayed in the Department(s) field. |
| 6. | Click Apply or Save. |


