Configuring the Outlook Add-In Module for Post to ClientSpace and Quick Case
The Outlook add-in uses system modules to create new cases, tasks or claim notes directly from the add-in.
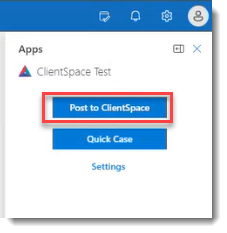
Through the Outlook add-in, you can create new cases, tasks and claim notes directly from your email Inbox. The "Create" options are presented when a user clicks the Post to ClientSpace button on the add-in interface:
You can indicate the fields that will be auto-filled and the information from the email to fill them. This topic walks you through configuring the Create Case, Create Task and Create Claim Notes modules for the Outlook add-in.
Additionally, your global admin can configure a Create module for creating any workspace dataform from the Email add-in, such as Create WC Claim. Steps are provided for configuring custom Outlook add-in modules.
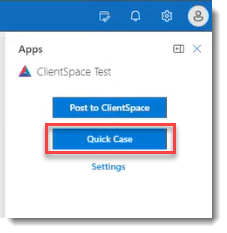
You can also configure the Outlook add-in to include a Quick Case button. This option bypasses the "Create" options and immediately creates a case. This topic also walks you through steps to configure the Quick Case add-in module.
You must be a Global Admin to perform all configuration steps.
Configuring "Post to ClientSpace" Outlook Add-in Modules
To configure the "Post to ClientSpace" Outlook add-in modules:
| 1. | Go to System Admin |
The Modules dashboard opens.
| 2. | In the Search box, filter the Modules list by typing Outlook. |
Modules that apply to Outlook are displayed. The three relevant modules are Create Case, Create Task, and Create Claim Notes.
| 3. | Open Create Case. |
The Module Details form for Create Case opens.
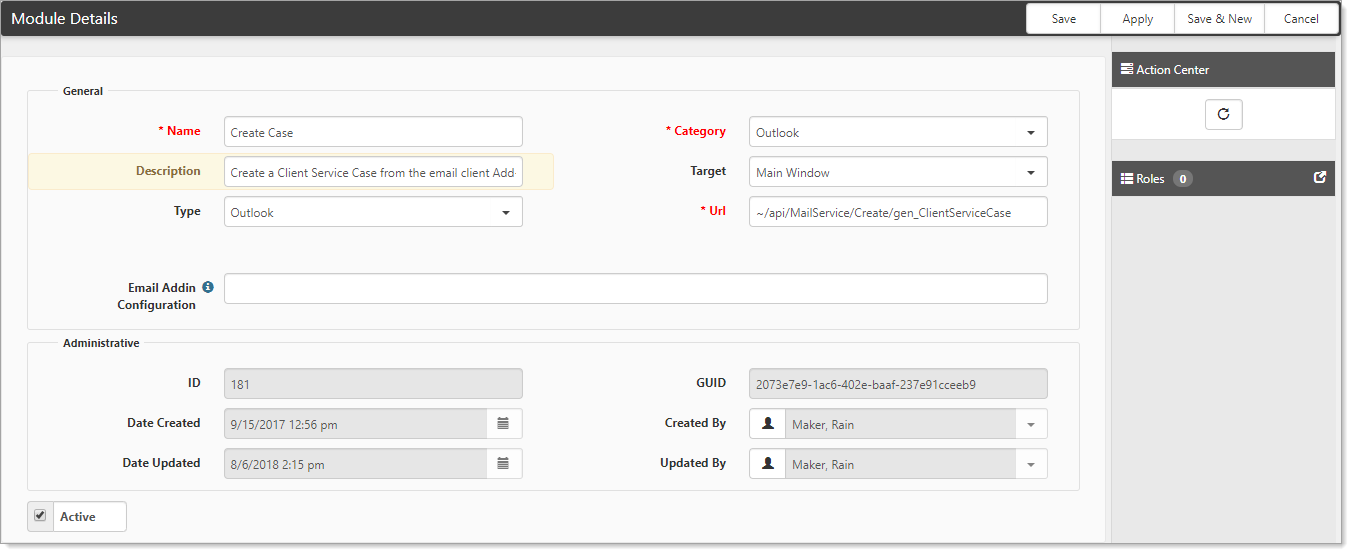
| 4. | Complete the form (referring to the field definitions table near the end of this topic as needed) and click Save. |
| 5. | Open Create Task. The Module Details form for Create Task opens. |

| 6. | Complete the form (referring to the field definitions table near the end of this topic as needed) and click Save. |
| 7. | Open Create Claim Notes. The Module Details form for Create Claim Notes opens. |
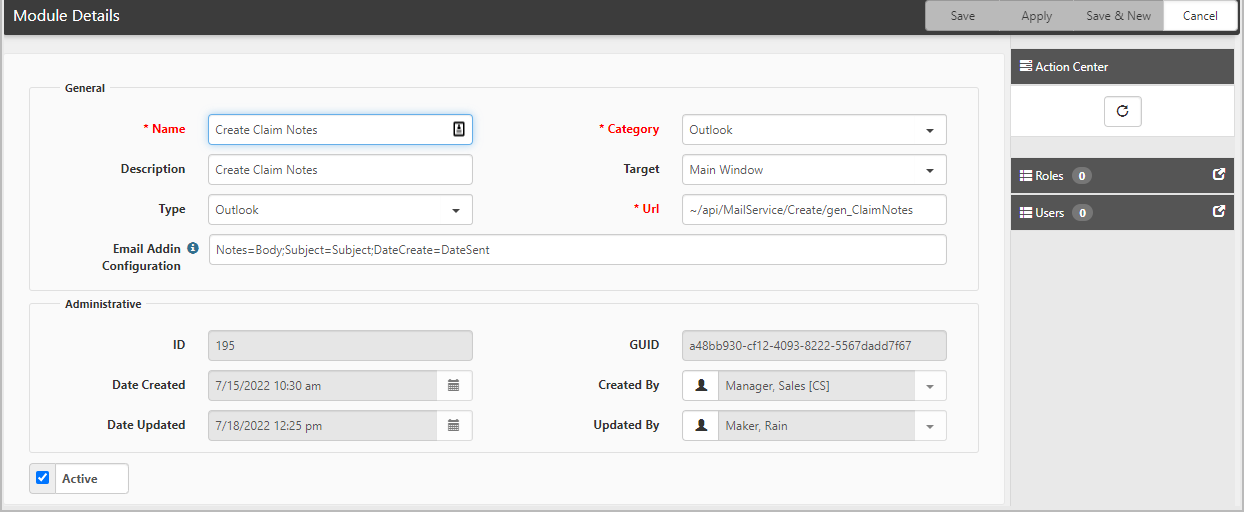
| 8. | Complete the form (referring to the field definitions table below as needed) and click Save. |
| Name |
Defaults to Create Case, Create Task or Create Claim Notes depending on your selection. |
|||||||||||||||||||||||||||
| Category |
Defaults to Outlook. |
|||||||||||||||||||||||||||
| Description |
|
|||||||||||||||||||||||||||
| Target | Will this open in a new window or in the main view? The add-in opens a new instance of the system, so this is set to Main Window, ensuring the case or task is opened normally (within the page frame). | |||||||||||||||||||||||||||
| Type |
Defaults to Outlook. |
|||||||||||||||||||||||||||
| Url |
This is used by the Outlook add-in to find the appropriate code path when generating a new dataform or task. This field is pre-configured and should not be altered, or unexpected behavior occurs. |
|||||||||||||||||||||||||||
| Email Addin Configuration |
This field enables the global admin to selectively fill fields in the newly created case, task, or claims note using data from the selected email. Pair case, task or claim notes fields with email fields. Separate the pairings with a semi-colon, no spaces between them, and no ending semicolon. Example format for a Task: Case/TaskField=EmailField Example format for a Case: Subject=Subject;CaseInfo=Body;EmailAddress=Sender;z_ClientReportDate=DateSent Example format for a Claim Note: Notes=Body;Subject=Subject;DateCreate=DateSent The second example above is for a case. The following information will be brought in:
Available fields retrieved from the email are:
Additional Optional Parameters:
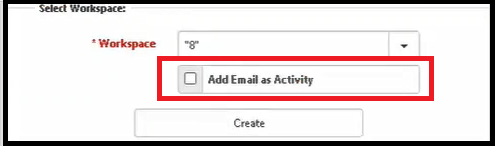
The following graphic illustrates the check box option that the system displays for a new case or task when using the ShowEMBActivity parameter.
|
| 9. | Click Save. |
For Create Case, Create Task, or Create Claim Note functionality to appear in the add-in, the respective module must be active in System Admin ![]() > Modules.
> Modules.
Configuring Custom Outlook Add-in Modules
To add custom Outlook modules:
| 1. | Go to System Admin |
The Modules dashboard opens.
| 2. | Click Add. |
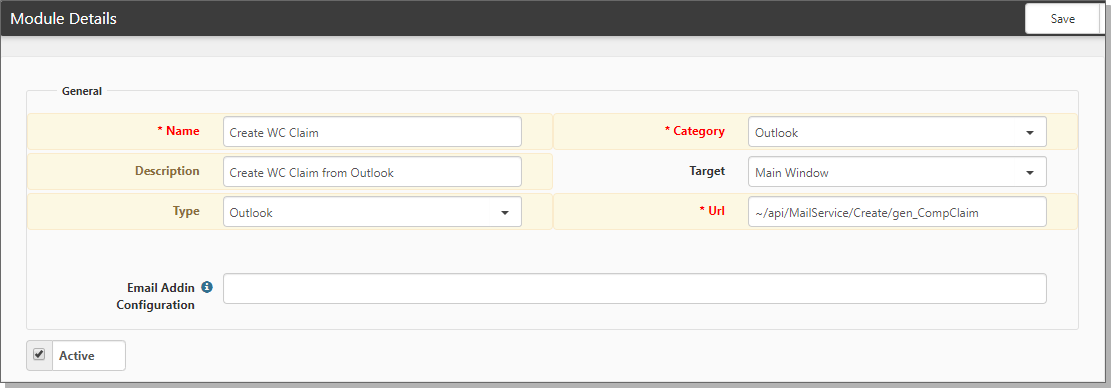
The Module Details form opens.
|
Name |
Enter a name that fits your new module. Example: Create WC Claim. |
|
Category |
Select Outlook. |
|
Description |
Enter a description of the new module. |
|
Target |
Will this open in a new window or in the main view? The add-in opens a new instance of the system, so this is set to Main Window, ensuring the case or task is opened normally (within the page frame). |
|
Type |
Select Outlook. |
|
Url |
This is used by the Outlook add-in to find the appropriate code path when generating a new dataform or task. For a new module, such as Create WC Claim, type |
| 3. | Click Save. |
Configuring the Quick Case Outlook Add-in Module
Note: The Quick Case feature requires ClientSpace Release 164 or greater.
To configure the Quick Case Outlook add-in module
-
Go to System Admin
 > Modules.
 The Modules dashboard opens.
-
In the Search box, filter the Modules list by typing Outlook.
Modules that apply to Outlook are displayed.
-
Open Outlook Quick Case Create.
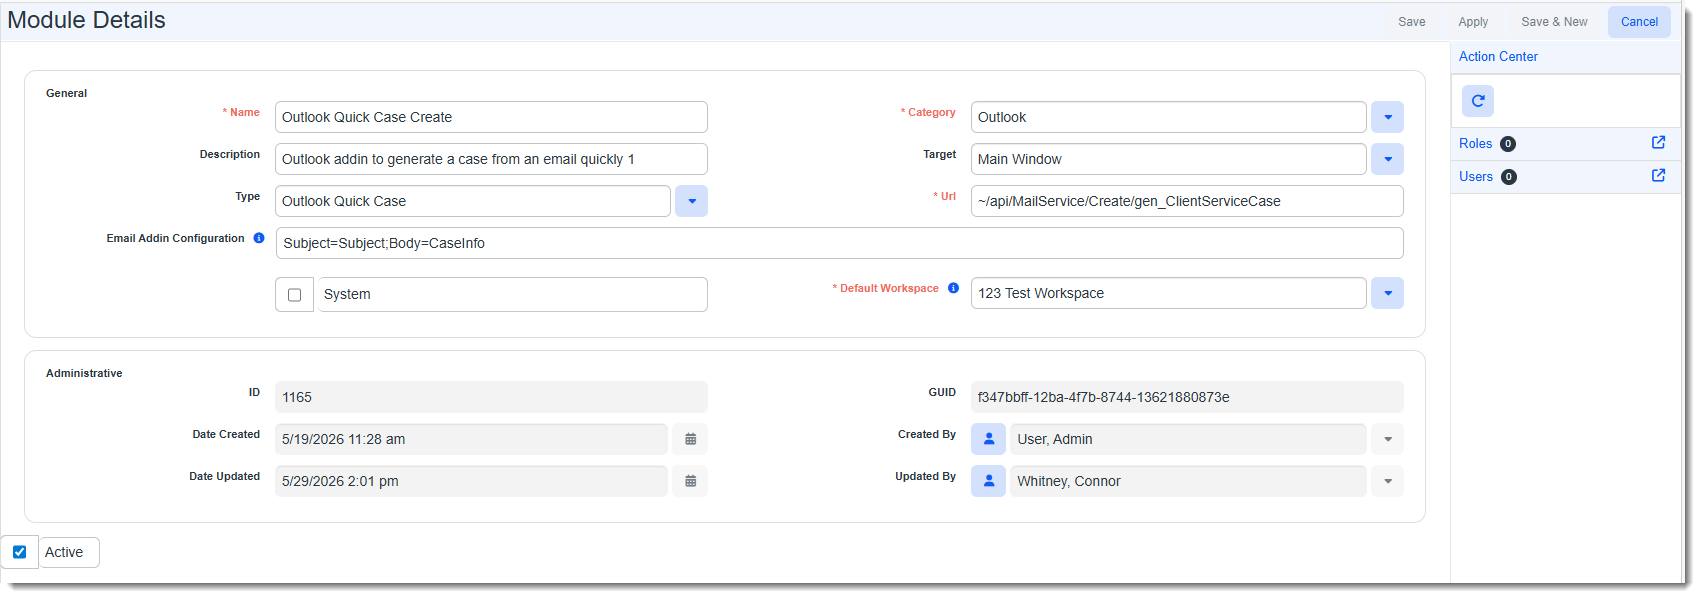
The Module Details form for Quick Case Create opens.
| 4. | Complete the form. |
| Name |
Defaults to Outlook Quick Case Create. |
| Category |
Defaults to Outlook. |
| Description |
Defaults to Outlook addin to generate a case from an email quickly. |
| Target | The add-in opens a new instance of the system, so this is set to Main Window, ensuring the case or task is opened normally (within the page frame). |
| Type |
Defaults to Outlook Quick Case. Note: If the module record is not configured with a Type of Outlook Quick Case, the Quick Case button will not display in the Outlook add-in interface. |
| Url |
This is used by the Outlook add-in to find the appropriate code path when generating a new dataform or task. This field is pre-configured and should not be altered, or unexpected behavior occurs. |
| Email Addin Configuration |
This field is used to map the email fields to the case fields so that the case fields will be appropriately field in using details from the email. Separate the field pairings with a semi-colon, no spaces between them, and no ending semicolon. Example: z_Subject=Subject; CaseInfo=Body; CallerName=Sender; DueDate=DateSent; EmailAddress=Sender; z_ClientReportDate=DateSent Additional Optional Parameters:
The following graphic illustrates the check box option that the system displays for a new case or task when using the ShowEMBActivity parameter.
|
|
Default Workspace |
Identify the workspace where ClientSpace will create the case if it cannot find a workspace containing a matching email address on an employee or contact record. |
| 5. | Click Save. |
For Quick Case functionality to appear in the add-in, the respective module must be active in System Admin![]() > Modules.
> Modules.